
Are you a tech enthusiast exploring the in-depth concepts in MERN Stack? If yes, once you gain the fundamentals, you can proceed with creating a few basic project ideas. You can start by creating a login page using MERN Stack.
In this blog, we’ll learn the practical implementation of creating a login page using MERN Stack. We’ll be looking at the complete code and its implementation properly. Let’s get started.
Table of contents
- Creating a Login Page Using MERN Stack
- Setup MongoDB:
- Setup Backend (Node.js with Express.js):
- Setup Frontend (React.js):
- Connect Backend with Frontend:
- Run the Application:
- Conclusion
- FAQs
- Can we create a website using the MERN stack?
- Can I learn the MERN stack in 1 month?
- Is MERN Stack highly paid?
Creating a Login Page Using MERN Stack
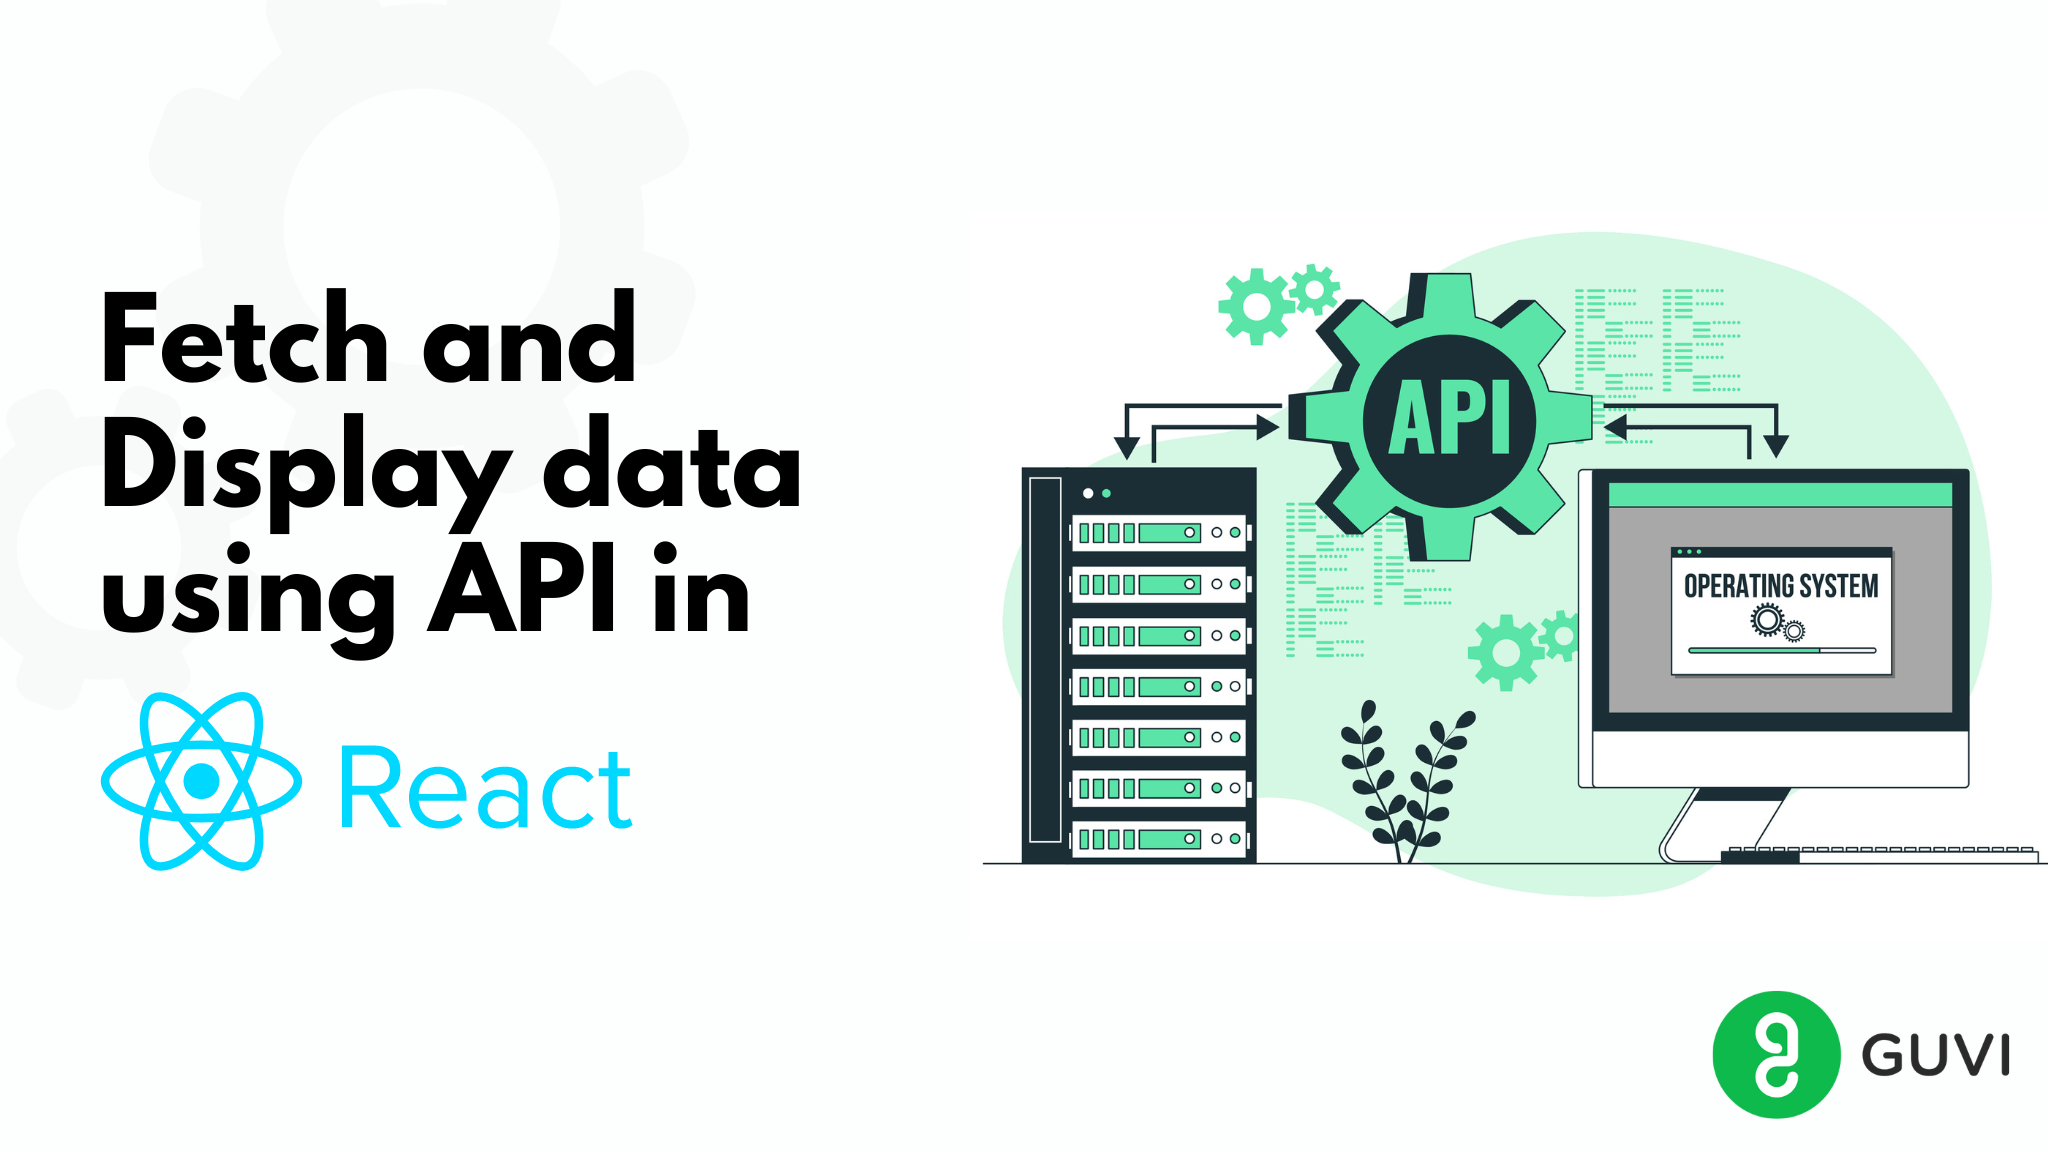
Creating a login page using the MERN (MongoDB, Express.js, React.js, Node.js) stack involves building both the frontend and backend components. You should also learn to Use ReactJS to Fetch and Display Data from API. Here’s a step-by-step guide on how to create a basic login page using MERN Stack:
Before diving into the next section, ensure you’re solid on full-stack development essentials like front-end frameworks, back-end technologies, and database management. If you are looking for a detailed Full Stack Development career program, you can join GUVI’s Full Stack Development Course with Placement Assistance. You will be able to master the MERN stack (MongoDB, Express.js, React, Node.js) and build real-life projects.
1. Setup MongoDB:
- Install MongoDB on your system or use a cloud-based MongoDB service like MongoDB Atlas.
- Make sure MongoDB is running and accessible.
2. Setup Backend (Node.js with Express.js):
- Create a new directory for your backend (e.g.,
backend) and navigate into it. - Initialize a Node.js project using
npm init -y. - Install necessary dependencies by running
npm install express mongoose bcryptjs jsonwebtoken cors. - Create the project structure as described earlier.
- Implement the backend code (
server.js,User.js,auth.js) according to the provided code snippets.
3. Setup Frontend (React.js):
- Create a new directory for your frontend (e.g.,
frontend) and navigate into it. - Initialize a React.js project using
npx create-react-app .(assuming you’re already inside thefrontenddirectory). - Install necessary dependencies by running
npm install axios react-router-dom. - Create the project structure as described earlier.
- Implement the frontend code (
Login.js,App.js) according to the provided code snippets.
You should also learn to Build a Search Component in React.
4. Connect Backend with Frontend:
- In
Login.js, update the API URL in the Axios request to match your backend server URL (e.g.,http://localhost:5000/api/auth/login). - Ensure that the backend server is running when you make requests from the front end.
Also Explore: Interaction Between Frontend and Backend: Important Process That You Should Know
Now, let’s actually start implementing it and look at the coding part:
For the Backend Part:
Let’s look at the coding part for the backend implementation:
1. Setup Project Structure:
/backend

  |- package.json

  |- server.js

  |- /models

    |- User.js

  |- /routes

    |- auth.js
2. Install Dependencies:
npm install express mongoose bcryptjs jsonwebtoken cors
3. Create server.js:
const express = require('express');

const mongoose = require('mongoose');

const cors = require('cors');

const bodyParser = require('body-parser');

const authRoutes = require('./routes/auth');

const app = express();

app.use(cors());

app.use(bodyParser.json());

mongoose.connect('mongodb://localhost:27017/mern_login', {

    useNewUrlParser: true,

    useUnifiedTopology: true,

});

app.use('/api/auth', authRoutes);

const PORT = process.env.PORT || 5000;

app.listen(PORT, () => {

    console.log(`Server is running on port ${PORT}`);

});
4. Create User.js in /models directory:
const mongoose = require('mongoose');

const userSchema = new mongoose.Schema({

    username: {

        type: String,

        required: true,

        unique: true,

    },

    password: {

        type: String,

        required: true,

    },

});

module.exports = mongoose.model('User', userSchema);
5. Create auth.js in /routes directory:
const express = require('express');

const router = express.Router();

const bcrypt = require('bcryptjs');

const jwt = require('jsonwebtoken');

const User = require('../models/User');

router.post('/login', async (req, res) => {

    const { username, password } = req.body;

    try {

        const user = await User.findOne({ username });

        if (!user) {

            return res.status(400).json({ message: 'Invalid username or password' });

        }

    const isMatch = await bcrypt.compare(password, user.password);

    if (!isMatch) {

        return res.status(400).json({ message: 'Invalid username or password' });

    }

    const token = jwt.sign({ id: user._id }, 'secretkey', { expiresIn: '1h' });

    res.json({ token });

    } catch (error) {

    console.error(error);

    res.status(500).send('Server Error');

    }

});

module.exports = router;
Also Read: How to Setup React Router v6?
For the Frontend Part:
Let’s look at the coding part for the frontend implementation:
1. Setup Project Structure:
/frontend

    |- package.json

    |- /src

        |- /components

            |- Login.js

        |- App.js

        |- index.js
2. Install Dependencies:
npx create-react-app frontend

cd frontend

npm install axios react-router-dom
3. Create Login.js in /src/components directory:
import React, { useState } from 'react';

import axios from 'axios';

    const Login = ({ history }) => {

    const [username, setUsername] = useState('');

    const [password, setPassword] = useState(''); const handleSubmit = async (e) => {

        e.preventDefault();

        try {

            const response = await axios.post('http://localhost:5000/api/auth/login', {

                username,

                password,

        });

        localStorage.setItem('token', response.data.token);

        history.push('/dashboard');

    } catch (error) {

      console.error(error);

    }

};

return (

    <div>

        <h2>Login</h2>

        <form onSubmit={handleSubmit}>

            <div>

                <label>Username:</label>

                    <input type="text" value={username} onChange={(e) => setUsername(e.target.value)} />

            </div>

            <div>

                <label>Password:</label>

                <input type="password" value={password} onChange={(e) => setPassword(e.target.value)} />

            </div>

            <button type="submit">Login</button>

         </form>

     </div>

    );

};

export default Login;
4. Modify App.js in /src directory:
import React from 'react';

import { BrowserRouter as Router, Route, Switch } from 'react-router-dom';

import Login from './components/Login';

function App() {

    return (

        <Router>

            <div className="App">

                <Switch>

                    <Route exact path="/" component={Login} />

                 </Switch>

            </div>

        </Router>

    );

}
5. Run the Application:
- Start MongoDB server.
- Run the backend server:
node server.jsinside the/backenddirectory. - Run the frontend server:
npm startinside the/frontenddirectory. - Open your web browser and navigate to
http://localhost:3000to access the login page. - Test the login functionality by entering valid and invalid credentials.
Not just this, you can also start working on some of the Best MERN Stack Projects To Make.
Kickstart your Full Stack Development journey by enrolling in GUVI’s certified Full Stack Development Course with Placement Assistance where you will master the MERN stack (MongoDB, Express.js, React, Node.js) and build interesting real-life projects. This program is crafted by our team of experts to help you upskill and assist you in placements.
Conclusion
By following these steps, you should be able to set up and work on the MERN stack login page project smoothly. Gain a complete understanding of the fundamentals before you start actually implementing it. Have a proper command over the theoretical and practical knowledge before working on this application.
Do Read: MEAN vs MERN: Career Growth & Salary
FAQs
Yes, we can create a website using the MERN (MongoDB, Express. js, React, and Node. js) Stack using the required tools and the right choice.
You need to be strong in HTML, CSS, and JavaScript fundamentals and be very experienced in it. It will take at least a few months to grasp MERN Stack technologies very clearly. You also have to start building projects on the MERN Stack to gain an in-depth understanding.
Yes, MERN Stack is one of the most highly paid-professionals in India. The average salary of a MERN Stack developer is INR 6.5 LPA in India.









Best for beginner developer