jQuery Selectors: An Informative Guide On The Most Essential Framework
Mar 06, 2025 6 Min Read 2780 Views
(Last Updated)
When you are coding a website, let us say, it requires around 1000 lines of code and you do so effortlessly. Now, your client needs to change a few things and asks you to do it within a day. How will you be able to find those and correct them within the stipulated time? Sounds exhausting, right?
But with jQuery selectors, it is easy-peasy. This allows you to find what you are looking for instantly and lets you change it with ease. If you are new to this concept, worry not, this article will keep you covered.
In this article, you will learn everything that is there to learn about jQuery selectors and it will help you get started with the world of full-stack development.
Let’s get going without any further ado.
Table of contents
- What are jQuery Selectors?
- Why Use jQuery Selectors?
- How Selectors Work?
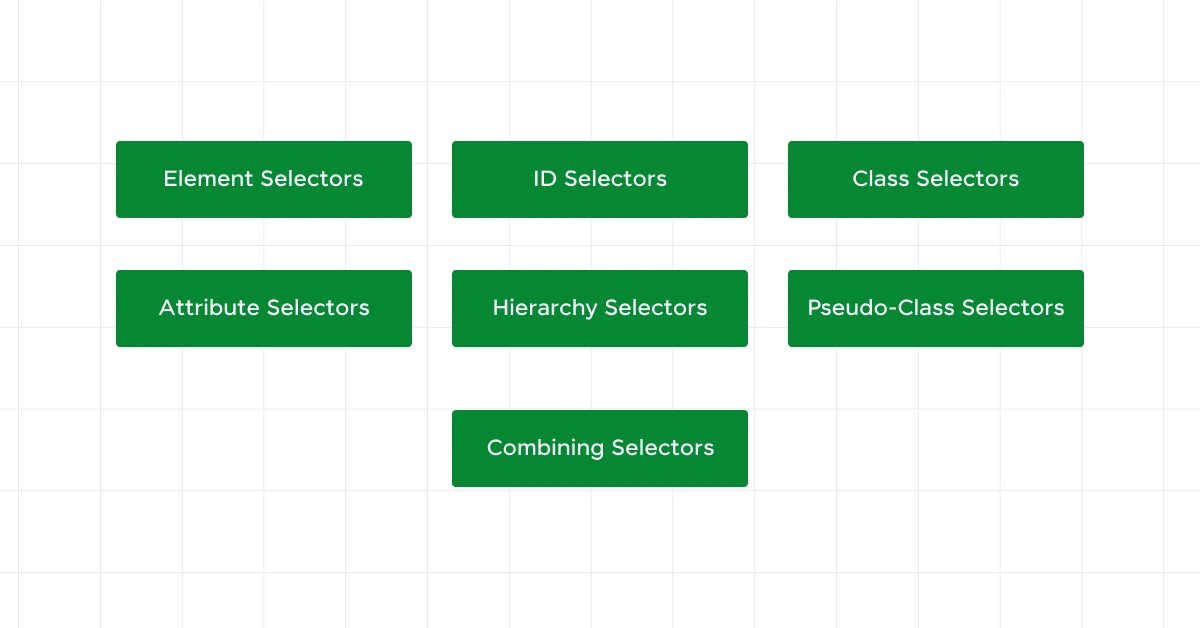
- Types of jQuery Selectors
- Element Selectors
- ID Selectors
- Class Selectors
- Attribute Selectors
- Hierarchy Selectors
- Pseudo-Class Selectors
- Combining Selectors
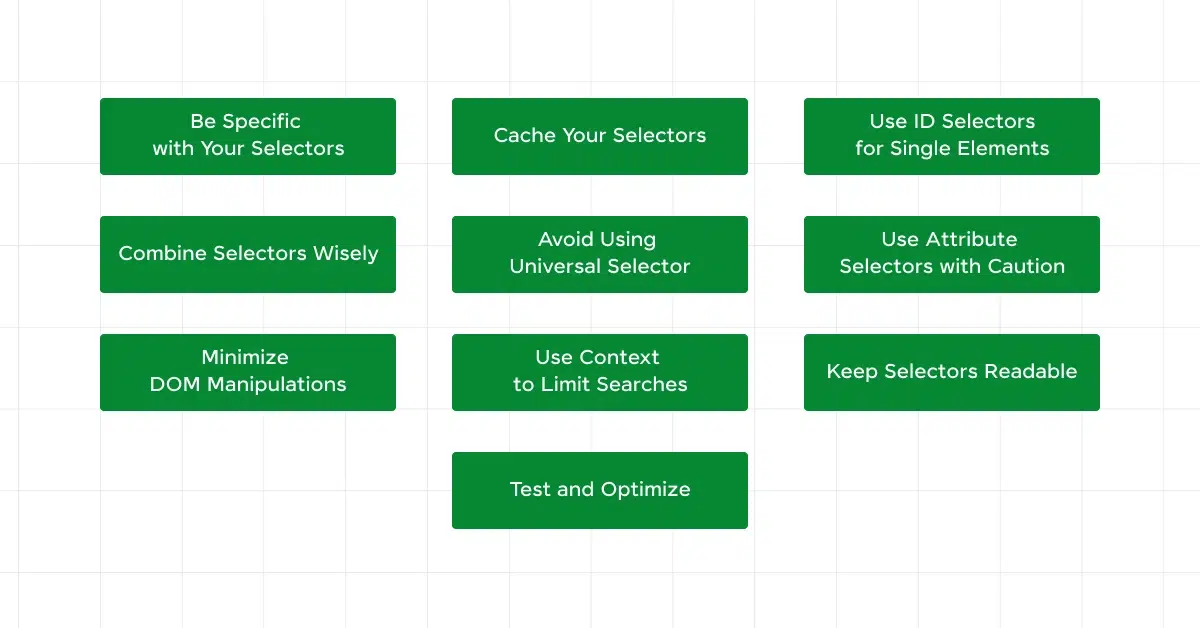
- Best Practices for Using jQuery Selectors
- Be Specific with Your Selectors
- Cache Your Selectors
- Use ID Selectors for Single Elements
- Combine Selectors Wisely
- Avoid Using Universal Selector
- Use Attribute Selectors with Caution
- Minimize DOM Manipulations
- Use Context to Limit Searches
- Keep Selectors Readable
- Test and Optimize
- Conclusion
- FAQs
- How do I include jQuery in my web project?
- What is the $ symbol in jQuery?
- How can I check if jQuery is loaded correctly in my project?
- How can you filter elements in a jQuery selection?
What are jQuery Selectors?

When you start working with jQuery, one of the first things you’ll encounter is the concept of jQuery selectors. But what exactly are they, and why are they so important?
Imagine you’re in a library, and you need to find a specific book. You might look for books by their title, author, genre, or even the section they’re located in.
jQuery selectors work in a similar way. They help you find and select HTML elements in your web pages so you can do things with them, like changing their content, and style, or even hiding them.
Why Use jQuery Selectors?
Think of jQuery selectors as your guide to go through the vast amount of content on your web page.
Just like you wouldn’t want to go through every book in the library to find the one you need, you don’t want to manually look at every HTML element to find the one you want to manipulate.
How Selectors Work?
In jQuery selectors, you can use “select” HTML elements, and then you can perform various actions on these elements. To use a selector, you simply put it inside the $() function. For example:
$('p')
This simple line of code tells jQuery to find all <p> (paragraph) elements in your document. Once selected, you can do things like change their text, style or listen for user interactions (like clicks).
Learn More: What is jQuery? A Key Concept You Should Know
Types of jQuery Selectors

Now that you have a basic understanding of what jQuery selectors are, let’s dive deeper into the different types of jQuery selectors available.
But before we go any further, it is important that you have a basic understanding of backend and full-stack development. If not, consider enrolling for a professionally certified online Full-stack Development Course that teaches you everything about backend frameworks and helps you get started as a developer.
Understanding these types of jQuery selectors will help you navigate and manipulate your HTML elements more effectively.
1. Element Selectors
Element selectors are the simplest form of selectors. They allow you to select all elements of a specific type.
Example:
$('p')This line of code will select all paragraphs (<p>) elements in your HTML document. It’s like saying, “Hey jQuery, find all the paragraphs for me.”
2. ID Selectors
ID selectors are used to select a single element with a unique identifier. IDs should be unique within a page, meaning no two elements should share the same ID.
Example:
$('#header')This will select the element with the ID of header. Think of it as asking jQuery to find the specific element that has this unique identifier.
Also Read: A Complete Guide to HTML and CSS for Beginners
3. Class Selectors
Class selectors target all elements that share a specific class attribute. Classes are great for grouping elements that should share the same styling or behavior.
Example:
$('.menu')This selects all elements with the class menu. It’s like telling jQuery, “Get me everything that belongs to the menu group.”
4. Attribute Selectors
Attribute selectors allow you to select elements based on their attributes and attribute values. They are incredibly useful when you need to target elements with specific attributes.
- Basic Attribute Selector: Selects elements that have a specific attribute.
$('input[name]') This selects all <input> elements that have a name attribute.
- Attribute Value Selector: Selects elements with a specific attribute value.
$('input[type="text"]') This selects all <input> elements where the type attribute is "text".
- Attribute Starts With Selector: Selects elements whose attribute value starts with a given value.
$('a[href^="https"]') This selects all <a> (anchor) elements where the href attribute starts with “https”.
- Attribute Ends With Selector: Selects elements whose attribute value ends with a given value.
$('a[href$=".pdf"]')This selects all <a> elements where the href attribute ends with “.pdf”.
- Attribute Contains Selector: Selects elements whose attribute value contains a specific value.
$('a[href*="example"]')This selects all <a> elements where the href attribute contains the word “example”.
Explore: Mastering CSS Selectors: A Comprehensive Guide
5. Hierarchy Selectors
Hierarchy selectors help you select elements based on their relationship to other elements in the document structure.
- Parent > Child Selector: Selects direct children of a specific element.
$('ul > li') This selects all <li> elements that are direct children of a <ul> element. It’s like saying, “Find all list items that are directly inside an unordered list.”
- Ancestor Descendant Selector: Selects all descendants of a specified element.
$('div p') This selects all <p> elements that are inside any <div>. It’s useful when you want to find elements nested within other elements.
- Sibling Selector: Selects elements that are siblings, meaning they share the same parent.
$('h1 + p') This selects the first <p> element immediately following an <h1>. It’s like asking jQuery to find the next paragraph that comes right after a heading.
Also Explore: Event Binding On Dynamically Created Elements
6. Pseudo-Class Selectors
Pseudo-class selectors let you select elements based on their state or position within the document. These are particularly useful for styling or interacting with elements in a specific state.
- First: Select the first element of its type.
$('p:first') This selects the first <p> element on the page. It’s like saying, “Find the very first paragraph.”
- Last: Select the last element of its type.
$('p:last')This selects the last <p> element. Think of it as asking for the last paragraph.
- (n): Selects the nth child of a parent element.
$('li:nth-child(2)')This selects the second <li> element within its parent. It’s useful when you need to target a specific item in a list.
- /: Select even or odd indexed elements.
$('tr:even')This selects all even-indexed <tr> elements (every second row in a table). Similarly, :odd would select all odd-indexed elements.
7. Combining Selectors
You can combine multiple jQuery selectors to create more specific and powerful queries. This allows you to precisely target the elements you need.
- Multiple Selectors: Select multiple types of elements.
$('p, .highlight') This selects all <p> elements and all elements with the class highlight. It’s like telling jQuery to find all paragraphs and all elements that have a specific class.
- Chaining Selectors: Select elements that match multiple criteria.
$('div.myClass#myID') This selects <div> elements that have both the class myClass and the ID myID. It’s like asking for a very specific element that matches all these conditions.
These jQuery selectors are powerful tools that allow you to write concise, efficient, and readable code. So, go ahead and experiment with these selectors in your projects, and see how they can simplify your work.
Know More: Best JQuery Course Online with Certification
Best Practices for Using jQuery Selectors

Now that you know the different types of jQuery selectors, it is time for you to understand how to use jQuery selectors effectively that can make your code more efficient, readable, and maintainable.
Here are some best practices to keep in mind when working with jQuery selectors:
1. Be Specific with Your Selectors
The more specific your selector, the faster and more accurately jQuery can find the elements you’re targeting. Instead of using broad selectors that grab more elements than you need, try to narrow it down.
Example:
// Broad selector
$('div')

// Specific selector
$('div.content .highlight')
By being specific, you’re telling jQuery exactly what you need, which can speed up your code and reduce the chances of unexpected behavior.
2. Cache Your Selectors
If you use the same selector multiple times, it’s a good idea to cache it in a variable. This way, jQuery doesn’t have to search the DOM each time you use the selector.
Example:
// Without caching
$('#menu').hide();
$('#menu').css('color', 'red');

// With caching
var $menu = $('#menu');
$menu.hide();
$menu.css('color', 'red');
Caching selectors improves performance, especially when dealing with large and complex documents.
Also Read: Top 10 Full-Stack Developer Frameworks
3. Use ID Selectors for Single Elements
If you know you’ll only be working with a single element, use an ID selector. Since IDs are unique, jQuery can quickly find the element, making your code more efficient.
Example:
$('#header').hide();ID selectors are faster than class or element selectors because jQuery doesn’t need to look through the entire document.
4. Combine Selectors Wisely
Sometimes, you need to combine selectors to target elements precisely. While combining selectors can be powerful, be mindful of how many conditions you’re adding. Overly complex selectors can slow down your code.
Example:
// Overly complex selector
$('div.container ul.menu li.item a.link')

// More efficient selector
$('.menu .item a.link')
Simplifying your selectors can make your code more readable and efficient.
5. Avoid Using Universal Selector
The universal selector (*) selects all elements in the document. While it might seem convenient, it’s usually inefficient and can slow down your code.
Example:
// Inefficient
$('*').css('color', 'blue');

// More efficient
$('p, h1, h2').css('color', 'blue');
Target specific elements instead of using the universal selector to improve performance.
Explore More: Know This Before Stepping Into Full Stack Development
6. Use Attribute Selectors with Caution
Attribute selectors are powerful but can be slower than other types of selectors, especially if used on large documents. Use them when necessary but try to limit their use.
Example:
// Slower
$('input[type="text"]')

// Faster
$('.text-input')
If possible, use classes or IDs instead of attribute selectors for better performance.
7. Minimize DOM Manipulations
Each time you manipulate the DOM, it can be a costly operation in terms of performance. Try to minimize the number of times you make changes to the DOM.
Example:
// Multiple DOM manipulations
$('#box').css('color', 'red');
$('#box').css('background-color', 'yellow');

// Single DOM manipulation
$('#box').css({
  'color': 'red',
  'background-color': 'yellow'
});
Batching your changes into a single operation can improve performance.
Know More About What is DOM manipulation? Common Tasks and Elements
8. Use Context to Limit Searches
If you know that the elements you’re targeting are within a specific section of your document, use a context to limit the search area. This makes jQuery’s search more efficient.
Example:
// Without context
$('li.item')

// With context
$('#menu').find('li.item')
By providing a context, you’re helping jQuery narrow down its search, which speeds up the selection process.
9. Keep Selectors Readable
Readable code is maintainable code. Even if you can write a complex selector in one line, consider breaking it down or adding comments to make it clear.
Example:
// Less readable
$('div.content ul#list li.item a.link')

// More readable
var $content = $('div.content');
var $listItems = $content.find('ul#list li.item a.link');
By keeping your selectors readable, you’ll make your code easier to understand and maintain.
10. Test and Optimize
Always test your selectors in different scenarios to ensure they work as expected. Use tools like browser developer tools to profile and optimize your selectors if you notice performance issues.
Example:
// Profiling with developer tools
console.time('selector');
$('div.content ul#list li.item a.link');
console.timeEnd('selector');
Profiling helps you identify slow selectors and optimize them for better performance.
Using jQuery selectors effectively is crucial for writing efficient, maintainable, and readable code. By following these best practices, you can ensure that your jQuery code performs well and is easy to work with.
If you want to learn more about ReactJS architecture in full-stack development, then consider enrolling in GUVI’s Certified Full Stack Development Course which not only gives you theoretical knowledge but also practical knowledge with the help of real-world projects.
Also Read: Frontend vs Backend Development: Top 7 Differences
Conclusion
In conclusion, jQuery selectors are an essential tool for efficiently navigating and manipulating HTML elements in your web projects.
By understanding the different types of jQuery selectors, following best practices, and being aware of potential challenges, you can write cleaner, more efficient code.
Remember to be specific with your jQuery selectors, cache frequently used selections, and use event delegation for dynamic content. With these techniques, you’ll be able to witness the full power of jQuery selectors to enhance your web development process.
Also Explore: Migrating from jQuery to Vanilla JavaScript for Modern Web Development
FAQs
You can include jQuery in your project by adding a <script> tag with the jQuery CDN link in your HTML file, or by downloading the jQuery file and linking it locally.
The $ symbol is an alias for the jQuery function. It is used to access jQuery methods and perform operations on selected elements.
You can check if jQuery is loaded by typing console.log($) in the browser’s developer console. If jQuery is loaded, it will return the jQuery function.
You can filter elements using methods like .filter(), .not(), .has(), and .is(). These methods refine your selection based on specified criteria.


![Top 20+ React Interview Questions and Answers [2025] 5 Top React Interview Questions](https://www.guvi.in/blog/wp-content/uploads/2022/01/Interview-Questions-1.png)
![What is ReactJS? A Beginner's Guide [2025] 6 what is reactjs](https://www.guvi.in/blog/wp-content/uploads/2025/04/what-is-reactjs.webp)
![What Does a Front End Developer Do? A Beginner’s Guide [2025] 7 Feature image - What does a Front End Developer do A Complete Guide](https://www.guvi.in/blog/wp-content/uploads/2024/02/Feature-image-What-does-a-Front-End-Developer-do-A-Complete-Guide.webp)


Did you enjoy this article?