
How to Install React.js on Windows: A Complete Guide
Apr 08, 2025 3 Min Read 22143 Views
(Last Updated)
React.js, a powerful JavaScript library from Facebook, is widely used for creating dynamic web interfaces. Setting up React on your Windows machine is your first step in modern web development. In this blog, we’ll show you how to quickly and easily set up a React development environment.
From installing Node.js to creating your first React app, you’ll be ready to start building high-performance applications in no time.
Table of contents
- What is React.js?
- How to Install React.js on Windows
- Step 1: Install Node.js
- Step 2: Verify the Installation
- Step 3: Install Create React App
- Step 4: Create a New Folder for Your React App
- Step 5: Create a New React App
- Step 6: Open Your Project in an IDE
- Step 7: Start Your App
- Conclusion
- FAQs
- Why do I need Node.js to install React.js on Windows?
- How do I verify if the create react app is installed successfully?
- What should I do if I encounter errors during the installation process?
What is React.js?
React.js is a popular open-source JavaScript library developed by Facebook, primarily used for building user interfaces, especially for single-page applications. Its main focus is on rendering UI components efficiently and updating them in response to data changes, making the development process smoother for complex and interactive web applications.
Key features of React.js include:
- Component-Based Architecture: React breaks down the UI into reusable components, each encapsulating its own logic and rendering, making the development and maintenance of complex applications easier.
- Virtual DOM: React uses a virtual representation of the actual DOM (Document Object Model) to optimize updates and minimize direct manipulation of the browser’s DOM. This results in faster rendering and improved performance.
- Declarative Programming: React allows developers to describe how the UI should look at any given time. When data changes, React efficiently updates and re-renders the components.
- Unidirectional Data Flow: React follows a one-way data flow, making it easier to track data changes, which helps with debugging and ensures predictable behavior.
- JSX Syntax: React uses a syntax extension called JSX (JavaScript XML) that allows developers to write HTML-like code directly within JavaScript. This makes the code more readable and easier to understand.
React is widely used for building web applications due to its flexibility, scalability, and strong community support.
Ready to elevate your web development skills? Join GUVI’s React.js course and transform your expertise into mastery. Enroll now!
Also Explore: Top Technologies to Learn for a JavaScript Backend Developer
After understanding the fundamental concepts of React.js and how it empowers developers to build dynamic user interfaces, let’s move forward with a step-by-step guide on how to install React.js on Windows.
How to Install React.js on Windows
To seamlessly develop user interfaces with React.js on your Windows system, follow these steps for a smooth installation:
Step 1: Install Node.js
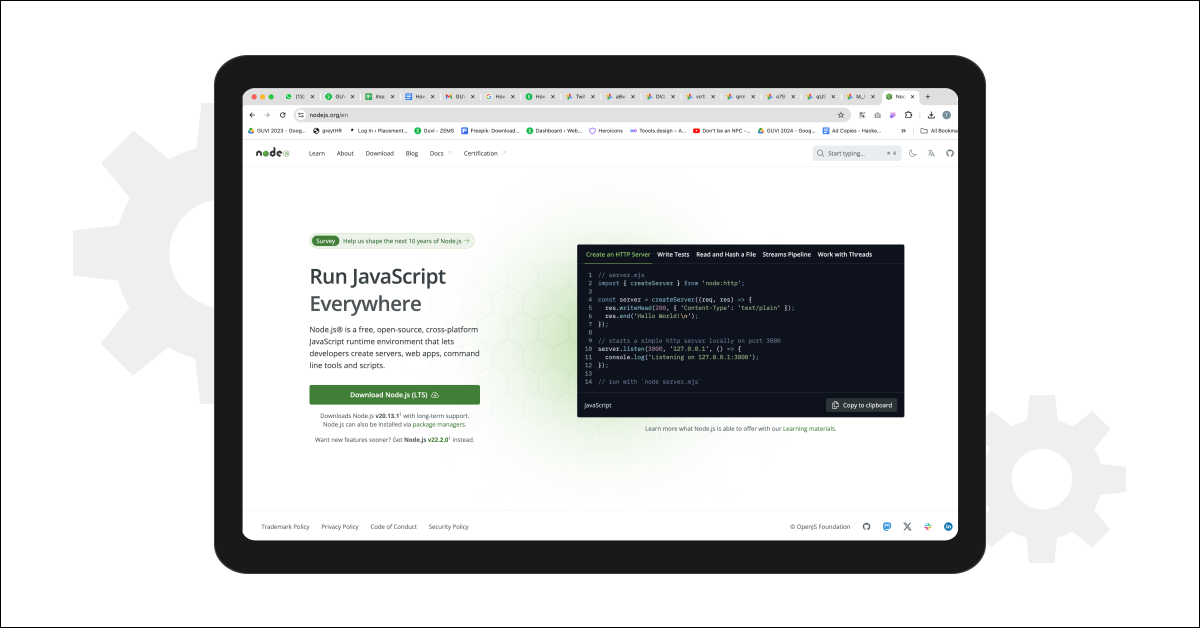
Start by installing the Node.js installer for Windows. Click here to visit the official Node.js website and download the LTS version (recommended). Once the installer is downloaded, run it, and follow the prompts, ensuring you don’t change any default settings. Click “Next” until the installation completes.
Also Read: Build a Search Component in React [just in 3 simple steps]
Step 2: Verify the Installation
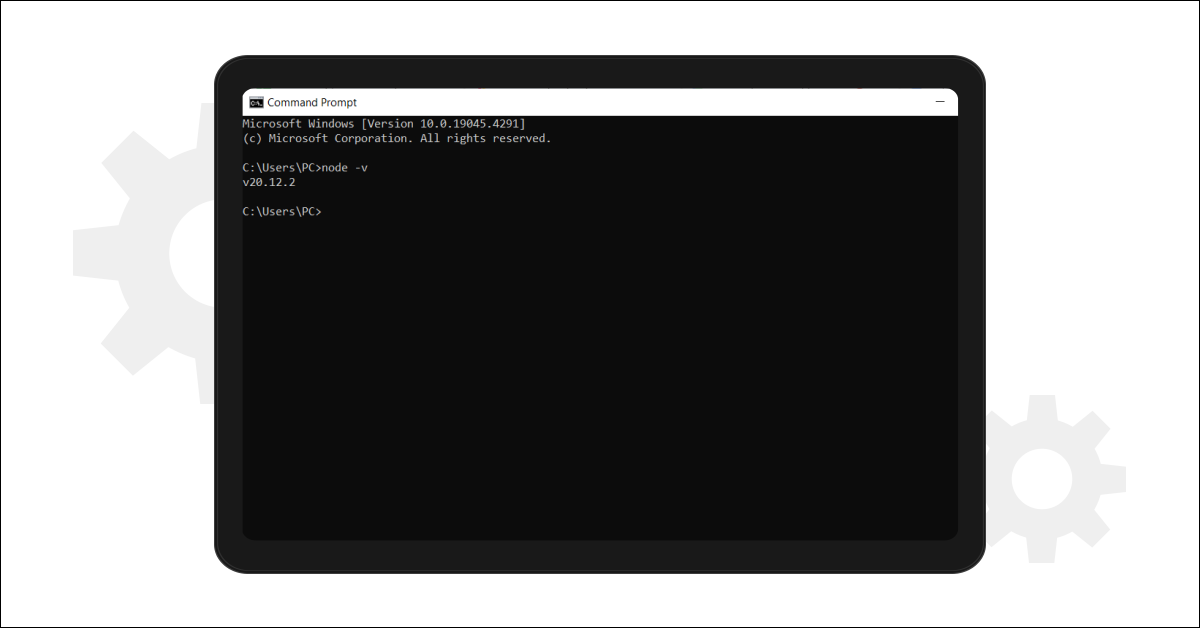
To ensure Node.js has been installed correctly, open the command prompt and type:
node -v
If the installation is successful, the terminal will display the installed version of Node.js.
Also Read: How to Render an Array of Objects in React? [in 3 easy steps]
Step 3: Install Create React App
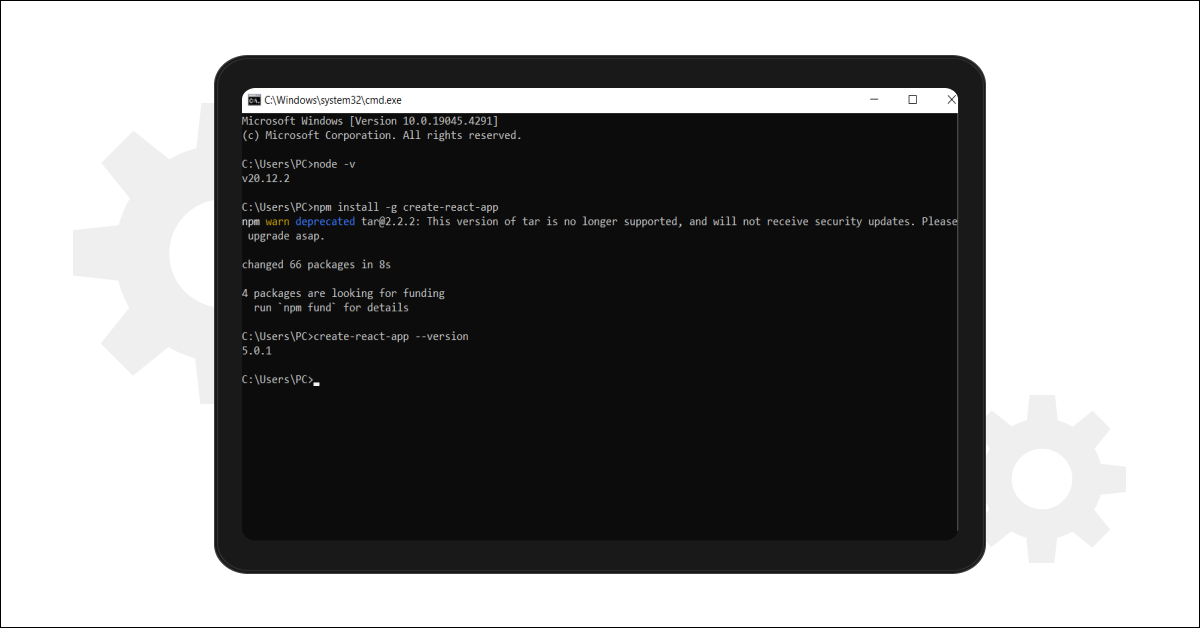
Next, in the terminal, run the following command:
npm install -g create-react-app
This command will globally install the Create React App tool. To verify the installation, type:
create-react-app –version
If installed correctly, it will display the installed version of create react app.
Also Read: Use ReactJS to Fetch and Display Data from API – 5 Simple Steps
Step 4: Create a New Folder for Your React App
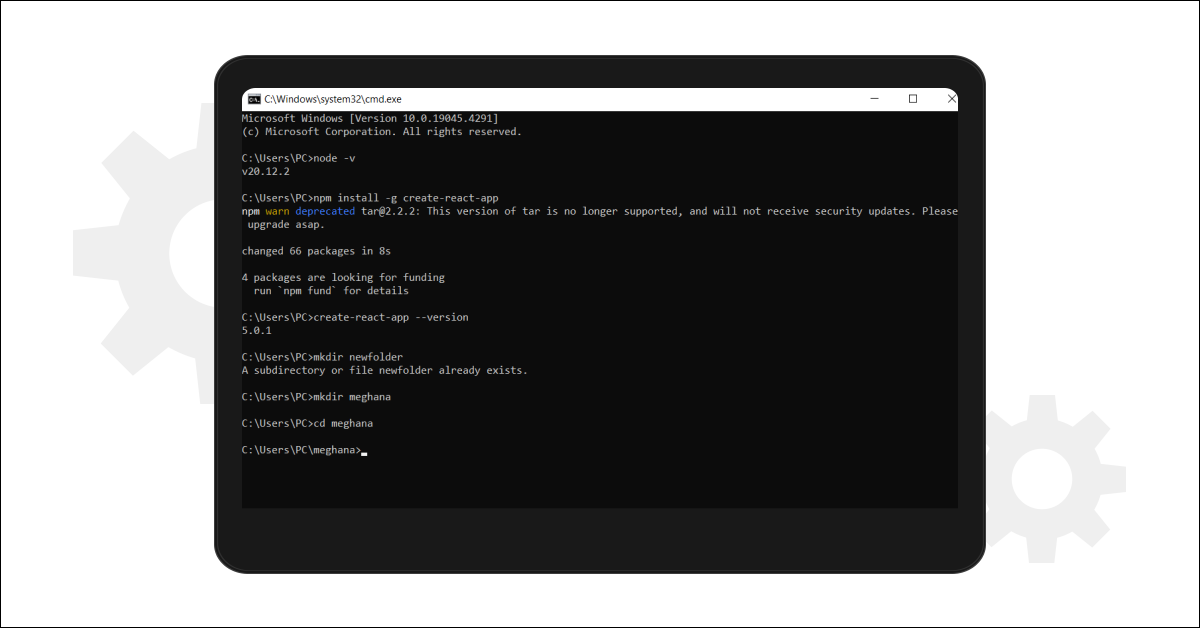
Create a new folder for your React app by running:
mkdir newfolder
Replace “newfolder” with your desired folder name. Move inside the folder using:
cd newfolder
Also Read: Top ReactJS Interview Questions and Answers Of 2024! [Part-1]
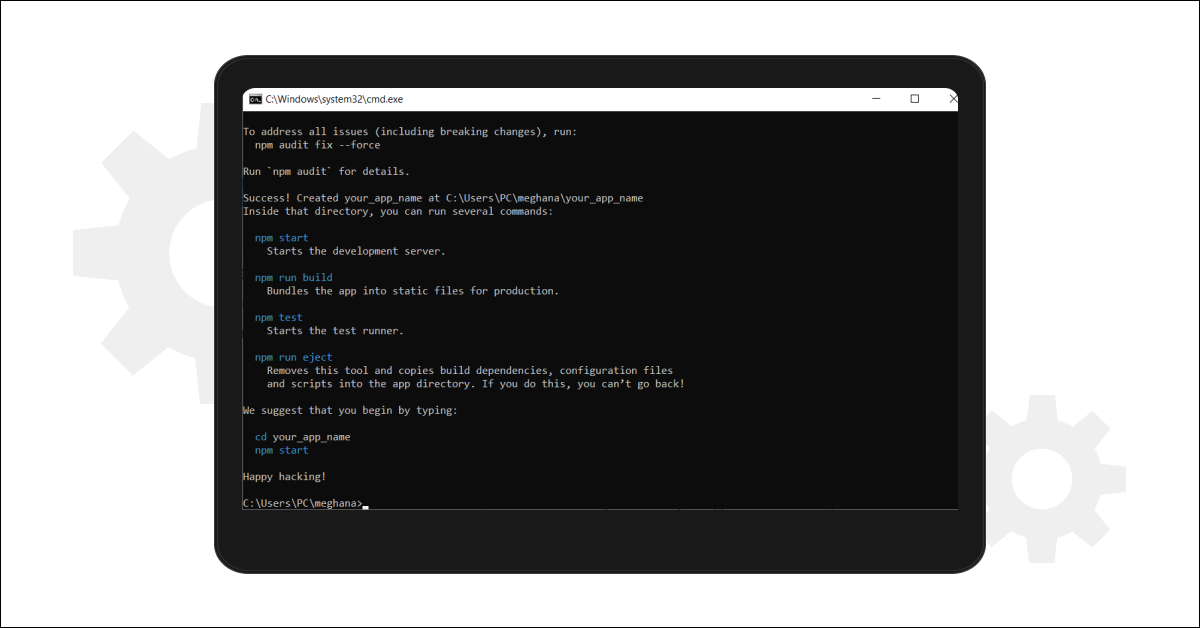
Step 5: Create a New React App
Inside the newly created folder, run the command:
create-react-app your_app_name
This will take some time as it installs the required dependencies. Note: Due to npm naming restrictions, the app name should only contain lowercase letters.
Also Read: useState() Hook in React for Beginners | React Hooks 2024
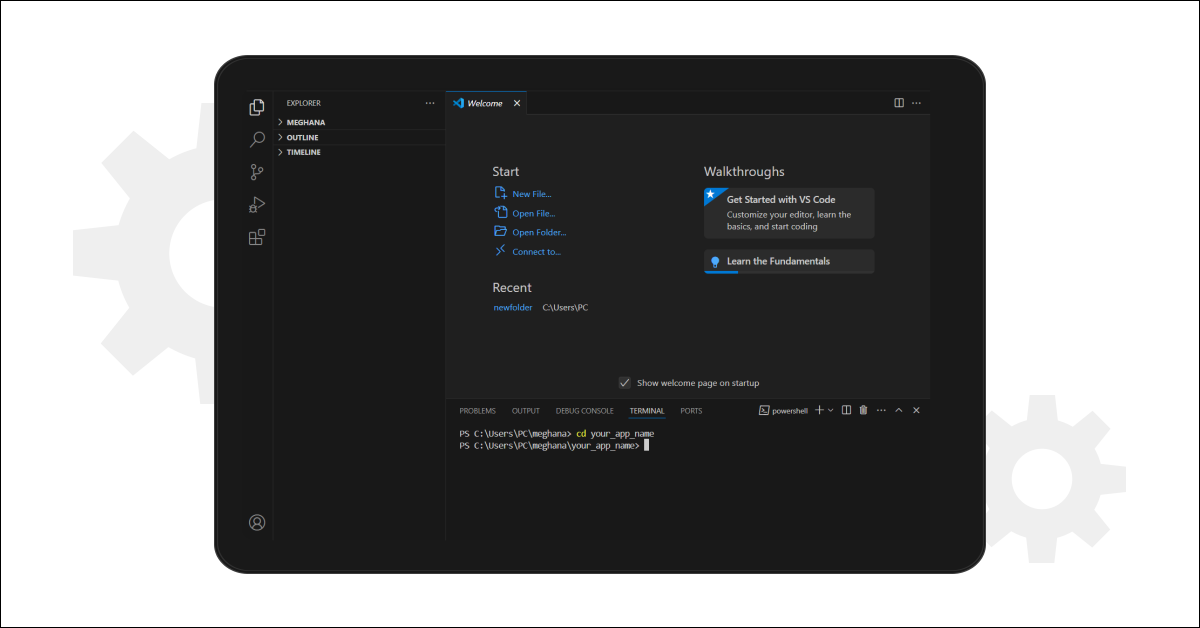
Step 6: Open Your Project in an IDE
Open your preferred IDE (e.g., Visual Studio Code) and navigate to the folder where your React app was installed. Enter the directory using:
cd your_app_name
Also Read: 6 Essential Prerequisites For Learning ReactJS
Step 7: Start Your App
To start your app, run the following command:
npm start
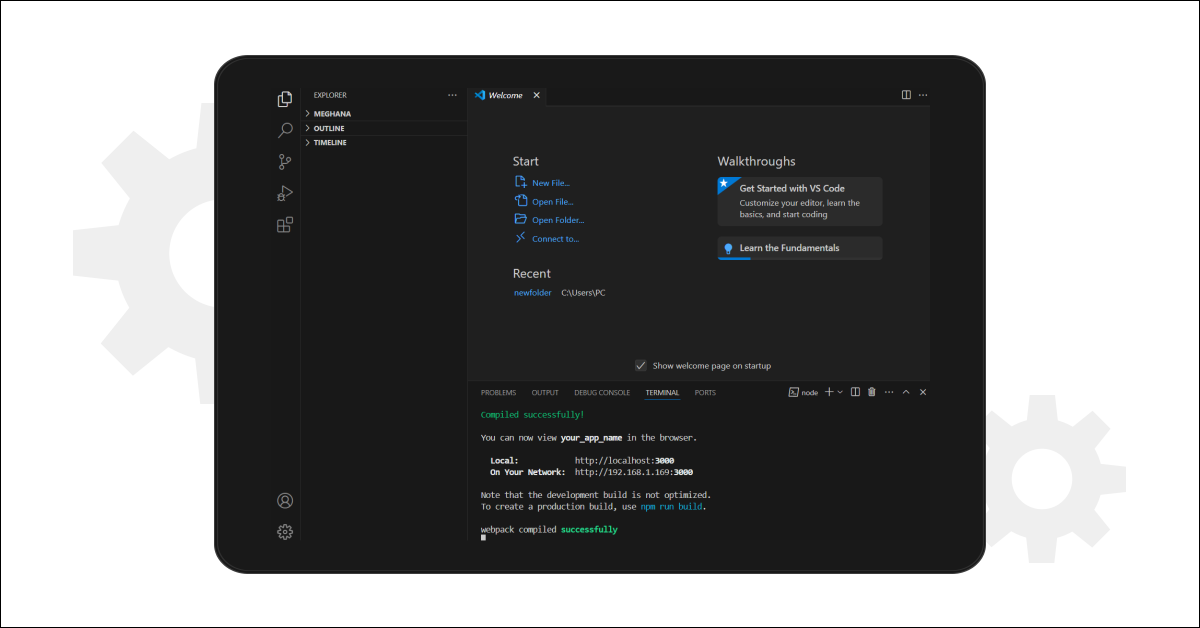
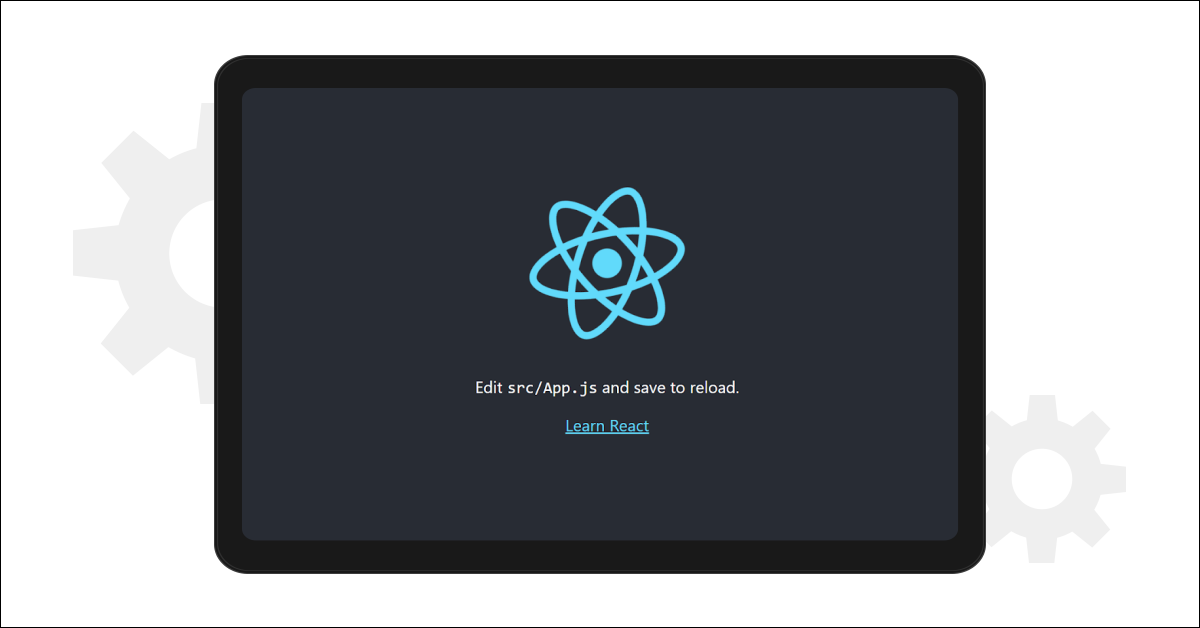
This command will open a new tab in your browser, displaying the React logo. Congratulations! You have successfully installed a React app and are ready to start building amazing web applications.
Are you curious about how to become a proficient full-stack developer? GUVI’s Full Stack Development Course is your gateway to achieving that goal! Designed to equip you with essential skills, it offers a comprehensive curriculum covering full-stack development. Enroll now!
Must Know About Mistakes to Avoid When Starting the First React Project
Conclusion
Setting up a React development environment on Windows is an important foundational step for developers eager to create modern web applications. Installing Node.js and using the Create React App tool provides the essential tools to confidently build dynamic and interactive applications.
With this setup in place, developers can explore React’s vast ecosystem, designing reusable components, managing state efficiently, and ultimately building scalable, robust applications that meet diverse needs. The journey with React is filled with possibilities, enabling developers to push creative boundaries and deliver innovative web solutions.
Must Explore: 10 Best React Project Ideas for Developers [with Source Code]
FAQs
Node.js is required because it includes npm (Node Package Manager), which is essential for installing JavaScript libraries like React. It also allows you to run JavaScript code outside of the browser and provides a runtime environment for developing and building applications.
After installing Create React App using the command npm install -g create-react-app, you can verify the installation by running create-react-app –version in Command Prompt or PowerShell. If the version number is displayed, it confirms successful installation.
If you encounter errors, check if Node.js and npm are correctly installed and updated to the latest versions. Ensure you have the necessary permissions to install software on your computer. Also, consult the official documentation or community forums for troubleshooting guidance.




nice. Very helpful. thanks
Insightful and very detail approach.