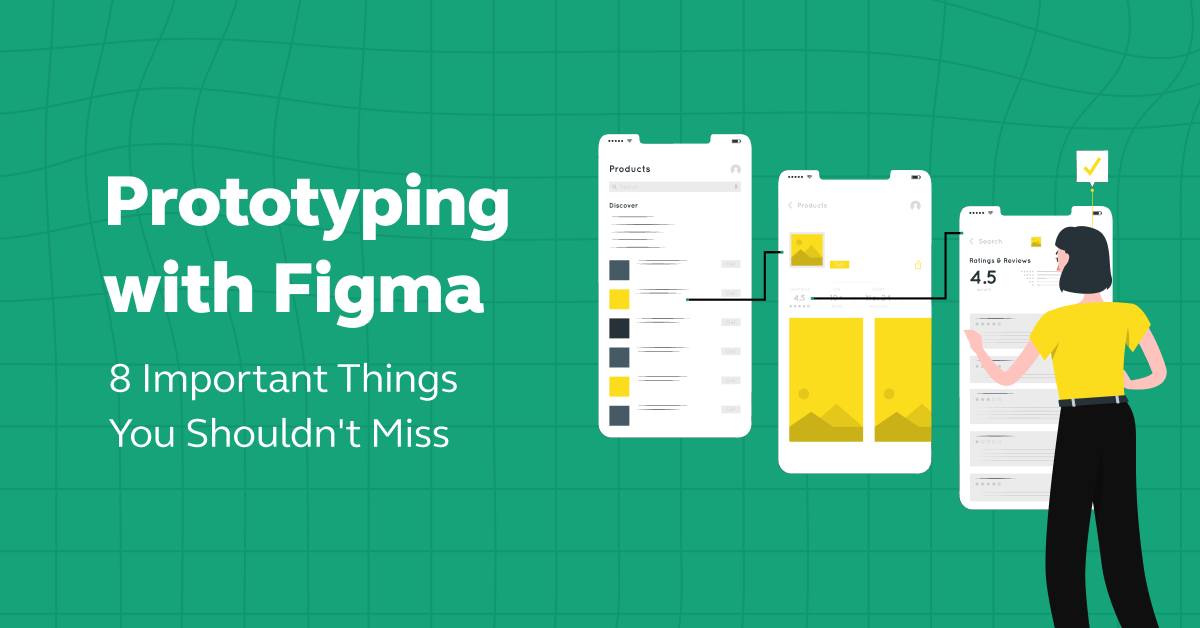
Prototyping With Figma: 8 Important Tips You Shouldn’t Miss
Mar 06, 2025 5 Min Read 3392 Views
(Last Updated)
As you know, UI/UX is a client-satisfactory process where client satisfaction is the top priority. To ensure the process goes smoothly, it is important to show the design prototype to the client before finalizing the design as it will reduce costs as well as work hours.
To make sure the client and the UI/UX designer stay on the same page, creating a rough version of the product design helps reduce the changes and save a lot of time. This can be done with Figma and that’s what is known as prototyping with Figma.
In this article you are going to learn in-depth about prototyping with Figma, starting from the basics of prototyping and learning how to prototyping with Figma. So, without any delay, let’s get started.
Table of contents
- Importance of Prototyping in UI/UX Design
- Prototyping With Figma: Tips to Do it Effectively
- Setting Up the Project
- Design Phase
- Collaboration
- Prototyping
- Developer handoff
- Integration with Development Tools
- Continuous Iteration
- Documentation and Handover
- Conclusion
- FAQs
- Is Figma free to use?
- How does Figma facilitate team collaboration?
- How does Figma compare to Adobe XD and Sketch?
- What file types can be imported into Figma?
- How do you share prototypes from Figma?
Importance of Prototyping in UI/UX Design
Prototyping in UI/UX design is a crucial step in the design process for several reasons:
As we proceed to the next phase, make sure you understand the fundamentals of UI/UX, which includes heuristic analysis, journey maps, testing, etc. If you want to explore more about it, join GUVI’s UI/UX Course with Placement Assistance. You’ll also learn about the tools used in UI/UX which are AdobeXD, Illustrator, Photoshop, Figma, and many more. Build some amazing real-time projects to get hands-on experience.
Also, if you want to explore Figma through a Self-paced course, try GUVI’s Figma certification course.
1. In UI/UX design, prototyping is the process of developing a model or rough draft of a website or app before it is finished. Let’s say you want to construct a home. A model would be ideal to see how it will look and ensure that everything fits properly before you begin construction.
2. Prototyping with Figma in UI/UX design works the same way. Designers make a basic version of the app or website they’re working on. They can see how it feels and looks and determine whether everything is user-friendly as a result. It’s similar to a test run where issues are identified and fixed before the final product is created.
3. They can make adjustments early on and receive input from actual users in this way. Compared to altering a completed website or application, changing a model is far simpler and less expensive.
4. Therefore, prototyping aids in ensuring that the finished product is flawless, user-friendly, and appealing to the masses. Ensuring the app or website is well-designed is an important step.
Read: How to Install Figma On Windows / How To Install Figma On Mac
Prototyping With Figma: Tips to Do it Effectively
Now let us see the things that you have to learn to understand prototyping with Figma:
1. Setting Up the Project
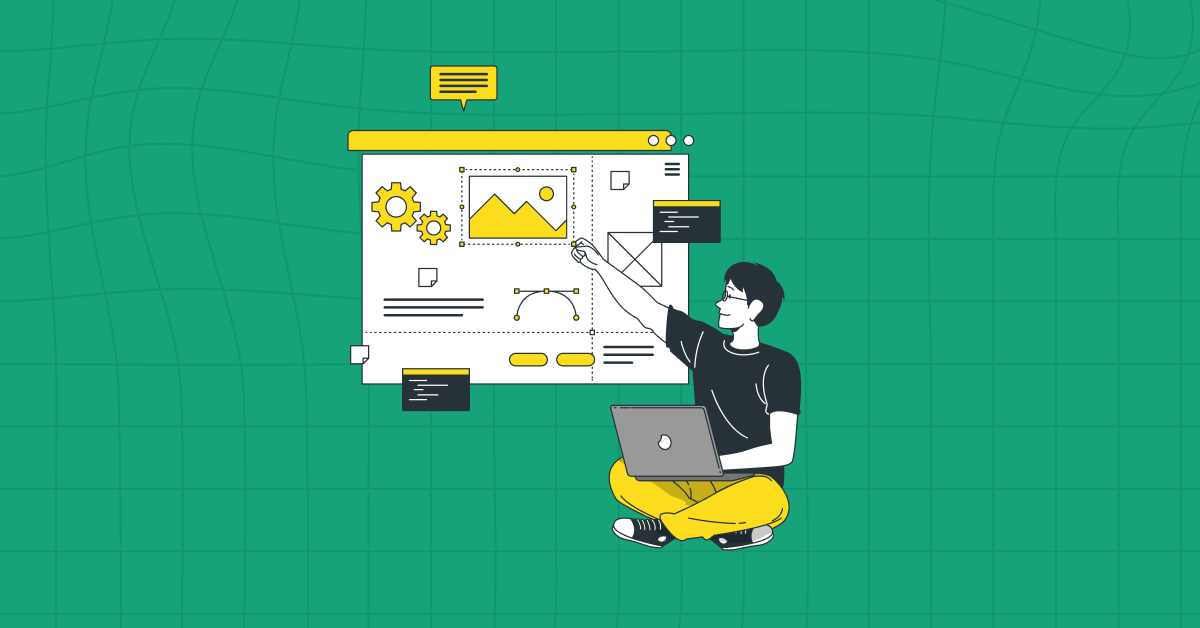
When you’re prototyping with Figma, the first step is Setting Up the Project. This is like preparing your canvas before you start painting.
All of your design concepts and plans will come to life when you start by making a new file in Figma. This first step is important because it is where you will develop and refine your prototype—a basic model of the website or application you are creating.
Creating a design system is the next crucial step in setting up your project in Figma. You select a range of hues, colors fonts, and design styles to be used in your project. This maintains a unified, polished appearance throughout.
Figma lets you save these choices so you can easily use them over and over, ensuring that every part of your project matches and fits together well.
2. Design Phase
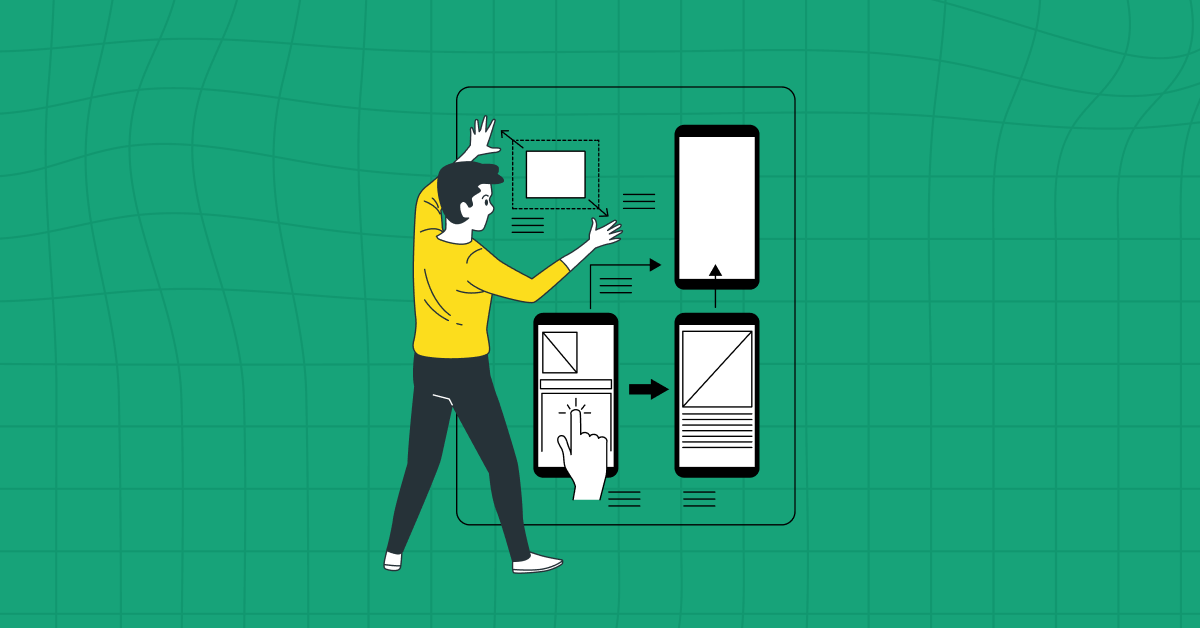
The Design Phase in prototyping with Figma is where your ideas start taking a visual form. It’s like drawing the blueprints for a building before you start construction.
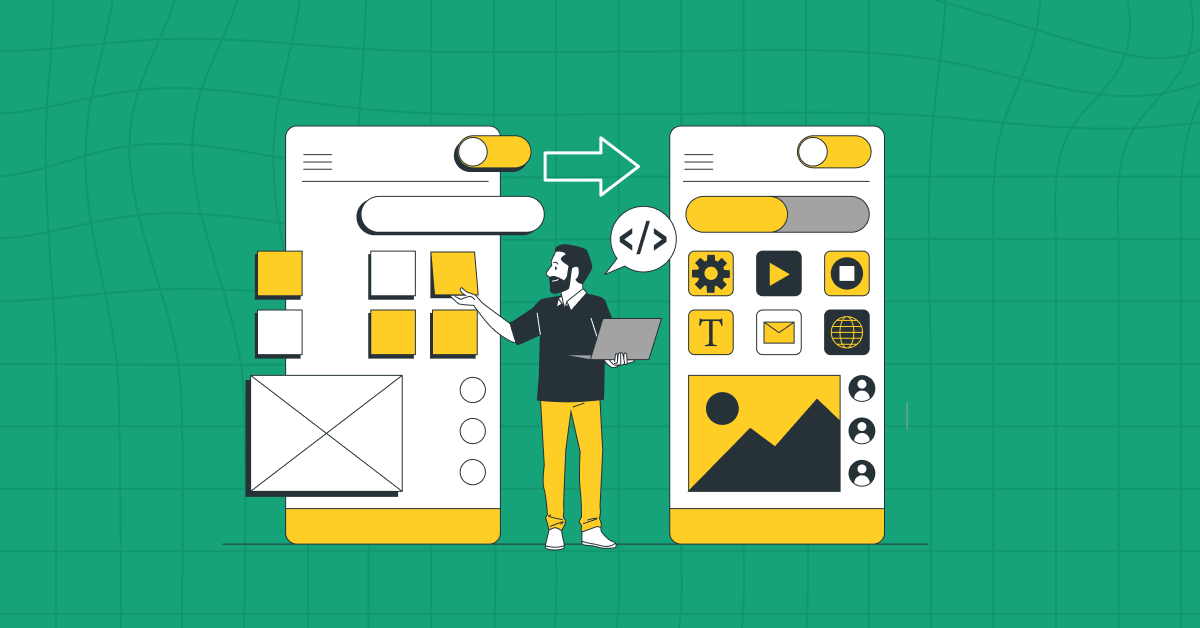
Initially, you create wireframes, which are simple layouts that outline where everything goes on your website or app. Imagine these wireframes as the sketch of a house, showing where the rooms, doors, and windows will be, but not yet adding color or decorations.
In Figma, these wireframes help you map out the structure of your project without getting lost in the details. It’s about planning where each piece of content, like text and images, will go.
After the wireframe comes the exciting part of the design phase in Figma: creating high-fidelity designs. This is where your project starts to come to life with colors, images, and specific fonts.
In Figma, you add all these elements to make your design look as close to the final product as possible. This stage is crucial because it gives everyone, including team members and clients, a clear and detailed picture of what the final app or website will look like.
Also Read: Wireframe vs. Mockup vs. Prototype: Top Differences [2024]
3. Collaboration
Collaboration in prototyping with Figma is like working on a group art project, where everyone can draw on the same canvas at the same time, no matter where they are.
Figma is designed for teamwork, allowing multiple people to jump into the same design file and work together in real time. This is super helpful because team members can instantly see the changes others are making, comment on them, and even edit designs together.
Another great aspect of collaboration in Figma is how it streamlines getting feedback and approvals. With Figma, you can easily share your design with stakeholders, clients, or other team members, even if they’re not designers. They can leave comments right on the design, pointing out exactly where they think changes are needed.
It’s a game-changer for teamwork, as ensures that everyone’s on the same page and speeding up the process of refining and finalizing designs.
Know More: Mastering Figma: Beginner to Expert UI/UX Design
4. Prototyping
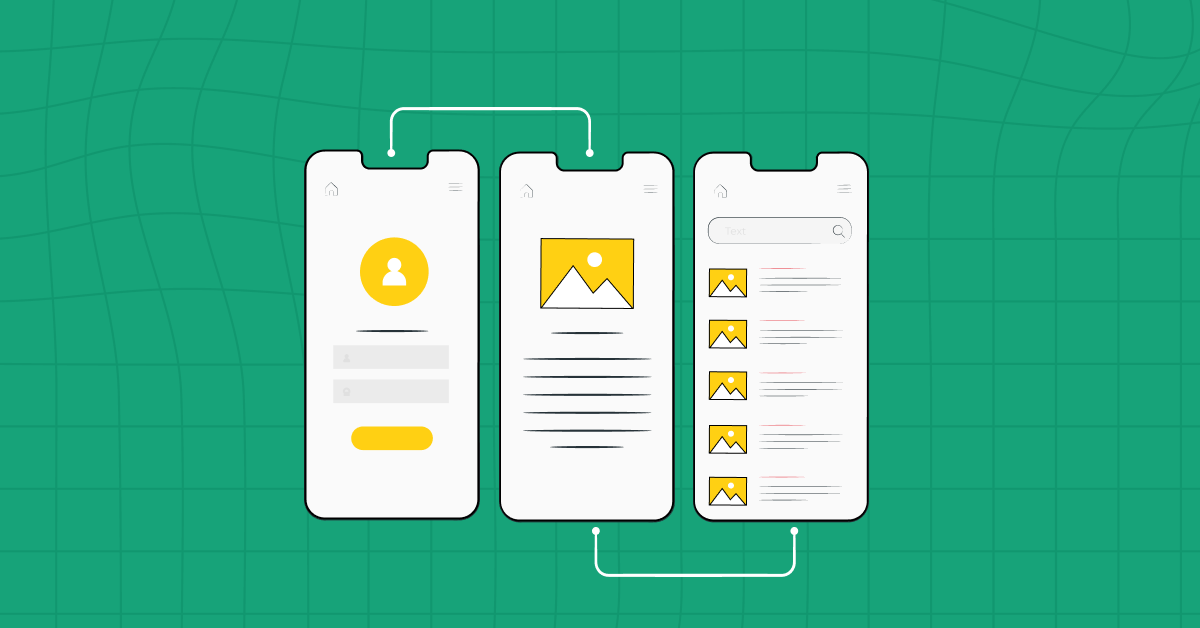
Prototyping in Figma is like bringing a storyboard to life, turning static design frames into an interactive model that behaves like a real app or website.
Imagine you have a series of sketches for a story; in Figma, you link these sketches together to show how one scene leads to the next. This is done by adding connections between different parts of your design.
For example, you can make a button on one frame take the user to another frame when clicked. This helps everyone understand not just how the final product will look, but also how it will work.
The beauty of prototyping with Figma is that it doesn’t require any coding knowledge. It’s all about dragging and dropping links between your design elements.
This means you can test how intuitive and user-friendly your design is, without having to build the actual software first. You can even share these interactive prototypes with others, allowing them to experience and provide feedback on the usability of your design.
Also Explore: 8 Best UI/UX Prototyping Tools
5. Developer handoff
Developer handoff in prototyping with Figma is like a chef passing a completed recipe along with the prepared ingredients to a baker, who then turns it into a finished dish.
In the world of design and development, after the design team has created the prototype in Figma, they need to hand it over to the developers who will build the actual product.
This step is crucial because it’s where the design is translated into a functioning website or app. Figma makes this process smooth by providing tools that let designers share not just the visual look of the design but also the technical details.
In Figma, developers can access the project and see exactly how the design should look and feel. They can also extract assets, such as images and icons, directly from the design file.
Figma even generates code snippets in various programming languages, which developers can use as a starting point for writing the actual code.
It reduces the risk of miscommunication and ensures that the final website or app stays true to the original design. Developer handoff in Figma bridges the gap between design and development, making sure that the creative vision is accurately and efficiently brought to life.
6. Integration with Development Tools
Integration with development tools in prototyping with Figma is like having a toolbox that connects your design workbench with the construction site.
In simpler terms, it means Figma can ‘talk’ and ‘connect’ with other software tools that the development team uses. This is crucial because creating a website or app involves more than just design.
Figma’s ability to integrate with these various UI/UX designing tools ensures that everyone involved in the project – from designers to developers to project managers – can work together seamlessly.
For example, Figma can integrate with tools for tracking progress like Jira, communication tools like Slack, or even directly with coding platforms like GitHub. This means changes in the design can be instantly reflected in the task lists of project managers, or developers can get notified about updates right in their workflow.
This integration capability makes prototyping with Figma desirable, and a central hub that connects all the different parts of the project, making the entire process more streamlined and coordinated.
7. Continuous Iteration
Continuous iteration in prototyping with Figma is like working on a painting that you can keep refining and changing until it’s just right. In the world of design and development, things are constantly evolving – a design is rarely perfect on the first try.
Continuous iteration means you repeatedly tweak and improve your design based on feedback and testing. In practical terms, when you use Figma for your design projects, you’re not just creating a static design; you’re setting up a dynamic, flexible workspace.
As you receive feedback from users, team members, or clients, you can quickly make adjustments to your design. These changes are instantly visible to everyone who has access to the Figma file.
8. Documentation and Handover
Documentation and handover in prototyping with Figma is similar to creating a detailed instruction manual for a complex gadget.
This documentation in prototyping with Figma typically includes details about the design elements, such as colors, fonts, spacing, and the logic behind each design decision.
Figma facilitates this process by allowing designers to add notes and annotations directly within the design file. This makes it much easier for the developers to understand the vision and intention behind the design.
Furthermore, when it comes to handing over the project, Figma streamlines this transition. The developers don’t just receive a static image of the design; they get access to the living Figma file, complete with all the interactive elements, assets, and notes.
Documentation and handover in prototyping with Figma ensures that nothing gets lost in translation between the design and development stages, paving the way for a smooth transition and a successful final product.
Know More About: Figma vs Adobe XD: The Controversial Debate Comes to an End
Kickstart your UI/UX journey by enrolling in GUVI’s UI/UX Course where you will master technologies like AdobeXd, Illustrator, and Figma, and build interesting real-life UI/UX projects. Alternatively, if you would like to explore Figma through a Self-paced course, try GUVI’s Figma certification course.
Conclusion
In conclusion, prototyping with Figma represents a revolutionary shift in how digital products are designed and developed. Figma empowers designers, developers, and stakeholders to work together more effectively. Whether it’s creating interactive prototypes, iterating designs based on user feedback, or ensuring a smooth transition to the development phase, Figma stands out as a comprehensive solution.
It not only enhances the efficiency and quality of the design process but also bridges the gap between vision and reality, making prototyping with Figma an invaluable asset in the ever-evolving landscape of digital product development.
Also Read: Psychology of UX Design: 3 Important Keys to Understand
FAQs
Figma offers a free tier with limited features, which is often sufficient for individual users or small teams. However, professional features require a subscription.
Figma’s cloud-based platform allows team members to access and edit design files in real time, leave comments, and share feedback instantly, facilitating seamless collaboration.
While all three are popular UI/UX tools, Figma is cloud-based and platform-independent, offering superior real-time collaboration capabilities compared to Sketch and similar features to Adobe XD.
Figma supports various file types, including Sketch, PNG, JPG, SVG, and GIF, making it versatile in terms of asset and design integration.
Prototypes can be shared directly from Figma through a link, allowing stakeholders to interact with the prototype in their web browser without needing a Figma account.








Did you enjoy this article?