
How to use Robot Class in Selenium using Java? Step-by-step guided tutorial!
Mar 05, 2025 4 Min Read 15697 Views
(Last Updated)
When you want to test an application using selenium, You need a few functions that might save up time during execution. One such method that helps in controlling certain functions of the system is by using a “robot class.”
In this session, we’ll understand the importance of a robot class in selenium, while testing an application so let’s begin this Article by taking a look at the agenda. So we’ll first start by understanding what is a robot class and also take a look at the importance of this class while testing an application. Moving further we’ll also understand the different methods under this robot class and also we’ll see how to implement this robot class in selenium. And finally, we’ll wrap up this session by taking a look at the limitations of this robot class.
Table of contents
- What is Robot Class & why is it important?
- What are the different methods to implement Robot Class?
- KeyPress()
- KeyRelease()
- MousePress()
- MouseRelease()
- MouseMove()
- Step-by-Step Implementing the Robot Class
- Prerequisite
- Creating Code Snippet for the robot class in Selenium
- Output for the above snippet
- Wrapping up
What is Robot Class & why is it important?
Time plays a major role while testing and we need to make sure that we complete the desired task within the specific time. A robot class is used to generate native system input events for the purpose of test automation, self-running demos, and other applications where the control of the mouse and keyboard is needed. The primary purpose of this robot class is to facilitate automation testing for the Java platform implementations. In simple terms, we can say that this class provides control over the mouse and keyboard devices. Robot class can handle the pop-ups during the execution, and the class is very easy to use with the automation process.
Now you might ask why we need this robot class when we can perform actions on the keyboard and as well as hover the mouse over the location on the web page?
Alright to answer your doubt, the Robot class is used to simulate and handle the mouse and keyboard functions. We don’t have to click any button while automating a webpage it can handle all the popups as well as the notification section of the webpage. It also helps you when you want to upload a file onto an application this can be done using this robot class. For instance, if you are trying to download an Email Attachment, a Windows pop-up, ‘Save Attachment’ prompts you to specify the Download Location, appears. It is nothing but a native OS pop-up.
Before we proceed further, it’s essential to have a solid foundation in automation testing principles and selenium basics. If you’re eager to dive deep into software testing, consider joining GUVI’s Selenium Automation Testing Course. In this program, you’ll learn the fundamentals of Selenium, Python, Java, Jenkins, JMeter, API Testing, and more. Gain hands-on experience with industry-standard tools and techniques to get into a professional career focusing on the quality of Product & Process development.
Also, if you want to explore Automation Testing with Python through a Self-paced course, try GUVI’s Selenium Automation with Python certification course.
What are the different methods to implement Robot Class?
Now let’s move on to our next topic, what are the different methods that are used while working on this robot class. So there are basically five different methods. As we mentioned earlier it handles all the keyboard and mouse functions. Let’s deconstruct them one by one.
KeyPress()
So the first method would be the key press. This is used to press any key on the keyboard, for example, if you have this particular command it will press the up key in the keyboard.
robot.keyPress(keyEvent.VK_UP);KeyRelease()
Next up, we have the key release method. This is used to release the pressed key of the keyboard for example if you have this particular command it will release the pressed caps lock key in the keyboard.
robot.keyRelease(keyEvent.VK_CAPS_LOCK);So this is about the methods used to control the keyboard functions. Now let’s take a look at the methods that are used to handle the mouse functions.
MousePress()
At first, we have the mouse press method which is used to press the left button of the mouse. So if you implement particular command it helps by pressing the left button of the mouse.
robot.mousePress(InputEvent.BUTTON1_MASK);MouseRelease()
Next, we have the mouse release method which is used to release the pressed button of the mouse.
robot.mouseRelease(InputEvent.BUTTON3_DOWN_MASK);MouseMove()
Lastly, we have the mouse move method which will move the mouse pointer to the x and the y coordinates of the elements. in this small smooth method, it commands the robot class to move the dot cursor of the mouse to the specified coordinates of the x-axis and y-axis.
robot.mouseMove(coordinates.get.X(),coordinates.get.Y());Step-by-Step Implementing the Robot Class
Okay so these are the methods that actually control the mouse and the keyboard functions, but to understand how to implement this robot class in Selenium, let’s take a look at the implementation of this robot class. Needless to say, we require the latest version of Java installed in our system and also an IDE where we can perform all the actions.
Prerequisite
Before everything, let’s check if Java is installed in our system. let’s go to the command prompt and Type
Java - versionto see if JAVA is installed and the version of JAVA.
Next, we need an IDE where we can perform the actions. We’re going to consider working on the Eclipse IDE because it is very convenient when you’re working on Java projects.
>So we’ll just quickly open this Eclipse IDE and launch the workspace.
>Once you open your Eclipse workspace, create a new Java Project.
> You need to give this a name so we’re going to name this project as RobotClass
>click on finish, and you can see that there is a folder being created by the name “robot class.”
> click on the drop-down you can find the source field and the Java libraries.
>we need to add the selenium jar files to this folder so we’re just going to right-click on this go to build path and configure the selenium libraries.
> add external jars selenium standalone server
> Make sure all the selenium libraries are added to this project.
>click on apply and close you can find the referenced folder which holds the selenium libraries.

Creating Code Snippet for the robot class in Selenium
Now let’s write our code in this source field, go to new, then class so this a demo class where you’re going to include the main function and click on finish.
In this case, we’re trying to perform actions on our official website at “guvi.in”; so to do that I’m going to first set the browser trigger by linking the respective browser driver to the ChromeDriver and specify the path.
Let’s see the code snippet, we’re going to use.
import org.openqa.selenium.By;
import org.openqa.selenium.WebDriver;
import org.openqa.selenium.chrome.ChromeDriver;
import java.awt.*;
import java.awt.event.KeyEvent;
public class demoClass {
    public static void main(String[] args) throws AWTException, InterruptedException {
        System.setProperty("webdriver.chrome.driver", "/home/knoldus/Downloads/Ajax handling/browser driver/chromedriver_linux64/chromedriver"); //memory space for your chrome driver
        WebDriver driver = new ChromeDriver();
        driver.manage().window().maximize();
        driver.get("https://www.guvi.in"); // sample url
        driver.findElement(By.linkText("Courses")).click();
        Robot robot = new Robot();  // Robot class throws AWT Exception
        Thread.sleep(4000);
        robot.keyPress(KeyEvent.VK_DOWN);// moving the keyboard key down.
        Thread.sleep(4000);
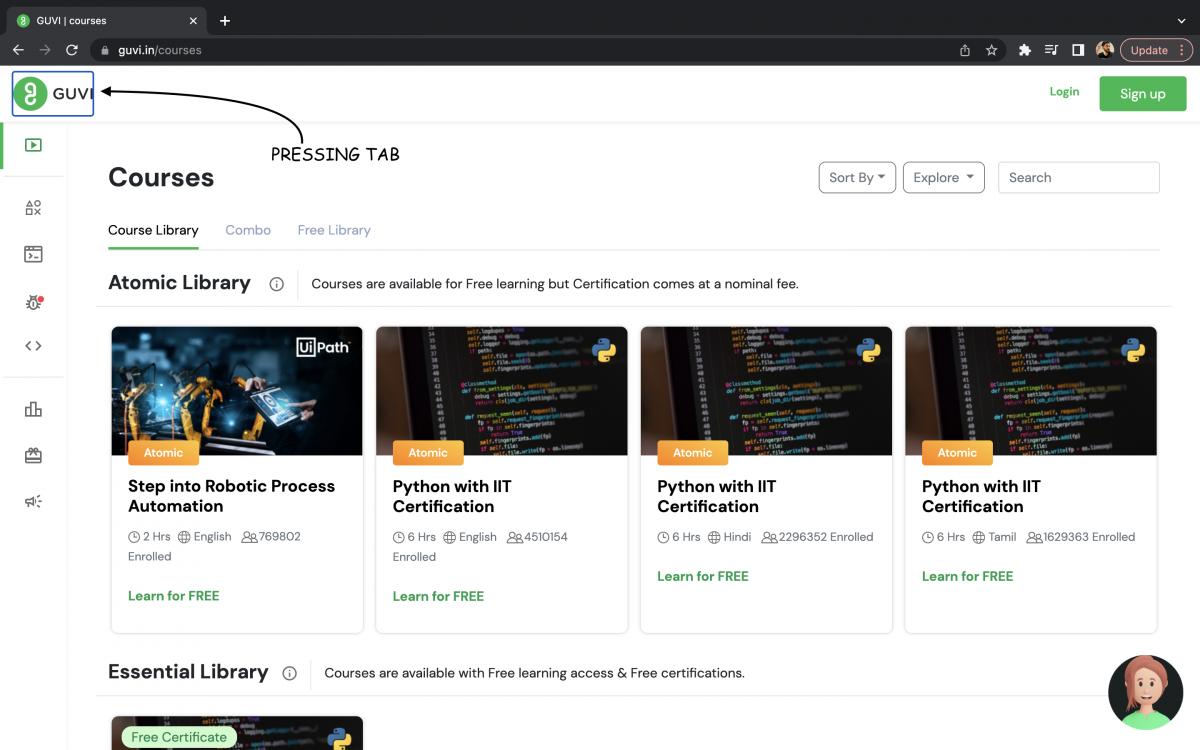
        robot.keyPress(KeyEvent.VK_TAB);
        Thread.sleep(4000);
        System.out.println("a");
        robot.keyPress(KeyEvent.VK_TAB);//pressing the tab key
        Thread.sleep(4000);
        System.out.println("b");
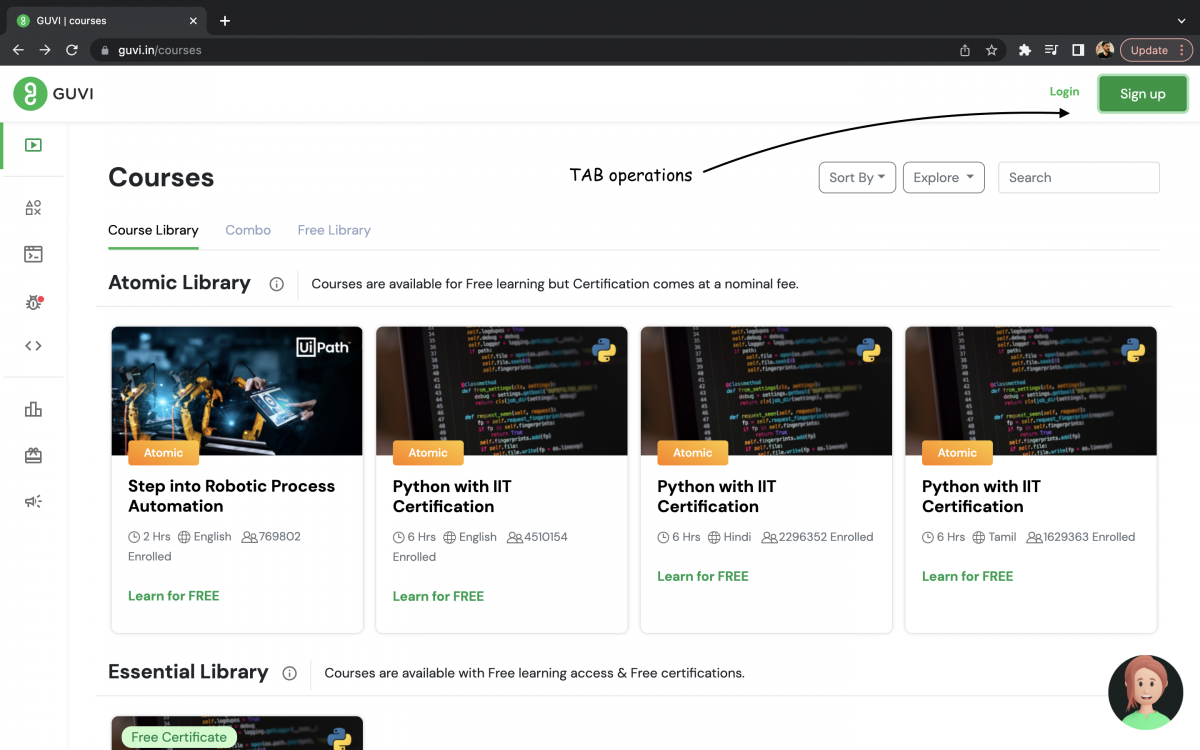
        robot.keyPress(KeyEvent.VK_TAB);
        Thread.sleep(4000);
        System.out.println("c");
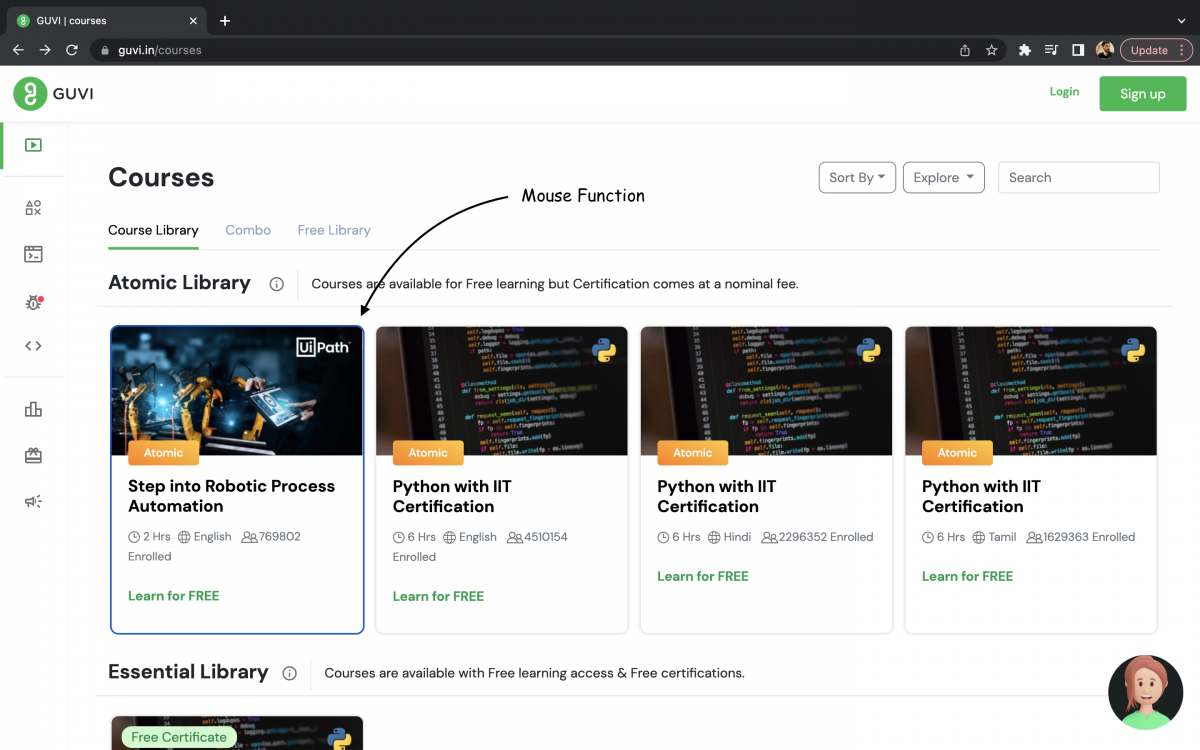
        robot.mouseMove(30, 100);//moving the mouse.
        Thread.sleep(4000);
        System.out.println("d");
    }
}
Output for the above snippet
Now, it’s time to analyze the output of this program.
>It first gets the URL of the web page guvi.in

>>Next, it navigates to the next page guvi.in/courses using the LinkText
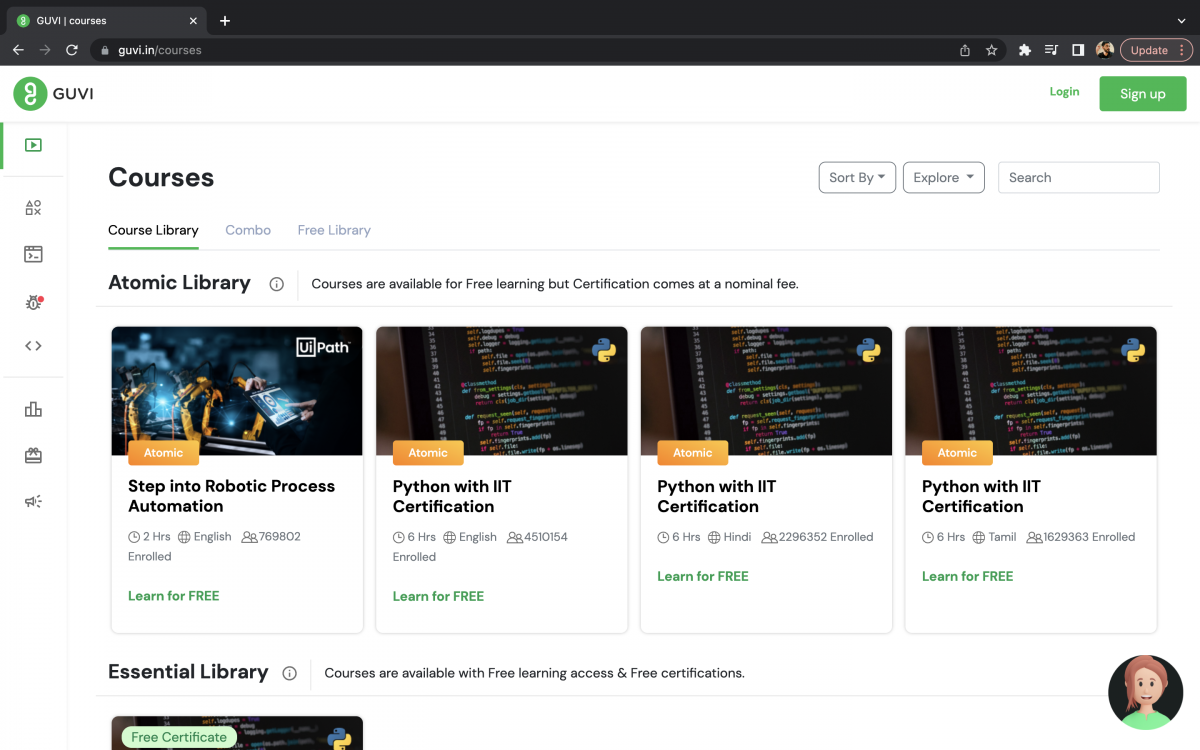
>>>Presses the tab on the keyword.
>>>> Now, the output will execute the action performed on the mouse.
Enroll in GUVI’s Selenium Automation Testing Course to get your software testing career off to a great start. Here, you can master in-demand skills like Selenium, Python, Java, Jenkins, JMeter, API Testing, and more.
Wrapping up
In conclusion, Robot Class in selenium is an AWT package primarily used to generate mouse/keyboard events to interact with OS windows and native apps, however, there are a few disadvantages to using Robot Class in selenium. For instance: Most of the methods like mouseMove are screen resolution dependent so there might be a chance that code working on one machine might not work on another.
Nevertheless, Robot Class is an interactive and fun method if you’re beginning with the Selenium framework & the automated tests project built in Java.
Follow our space on social media platforms for more interesting tutorials & expert-led webinars on the topic of Software Automation & testing. Post-pandemic, there has been a great surge in Automation testing job profiles & companies are always on the look for proficient QA’s and testers.









Did you enjoy this article?