Install Miro on Windows: A 2-Step Comprehensive Guide
Jan 16, 2025 4 Min Read 3323 Views
(Last Updated)
Post-Covid, everything is becoming digital and even companies prefer remote working as it helps them reduce the infrastructure costs. It is a good thing for both the employers and employees as well. But the problem that arises here is, how to effectively work remotely.
If you take up a project, you have to do brainstorming, collaborate with your teams to find effective solutions, and do everything through the Internet, so how do you manage to do so? That’s where Miro comes in.
In this article, you will learn about an interesting collaborative tool called Miro that is a real lifesaver when it comes to remote working. You will also learn how to install Miro on Windows.
So, let’s get started.
Table of contents
- What is Miro?
- How to Install Miro on Windows?
- Step 1: Download Miro on Windows
- Step 2: Installing Miro on Windows
- Things to Keep in Mind Before Using Miro
- Conclusion
- FAQs
- Is Miro free to use?
- Can I use Miro offline on Windows?
- How do I update Miro on my Windows computer?
- Can I sync my Miro boards across different devices?
- Can I collaborate with others who don't have Miro installed?
What is Miro?
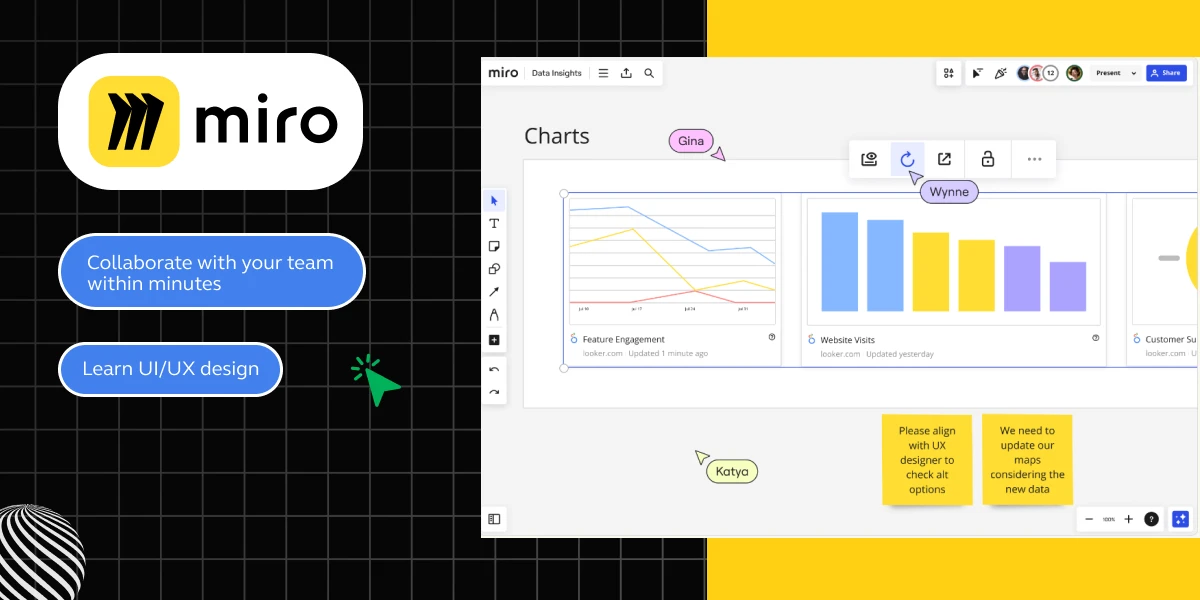
Before we get into the installation of Miro on Windows, let us first understand what it is thoroughly.
Miro is an online collaborative whiteboarding platform that enables teams and individuals to visualize, discuss, and share ideas.
It’s particularly popular for a variety of purposes, such as project planning, agile workflows, design thinking sessions, and educational purposes. If you are a UI/UX designer or someone who’s about to learn UI/UX design, then this tool is the right fit for your team to work together on a project.
Here are key aspects of Miro that make it preferable over other collaborative tools:
1. Collaborative Features: Miro allows multiple users to work on the same board at the same time, facilitating remote collaboration. This aspect is particularly important in today’s work-from-home and global team environments.
2. Versatility: It can be used for a wide range of activities, from brainstorming and mind mapping to creating user story maps and project timelines.
3. Integration with Other Tools: Miro integrates with various other tools like Slack, Google Suite, Jira, and Microsoft Teams, making it easy to incorporate into existing workflows.
4. User-Friendly Interface: The platform is designed to be user-friendly, making it easy for new users to start working with a minimal learning curve that allows them to understand the basics quickly and easily.
5. Templates and Frameworks: Miro offers a vast library of templates and frameworks, which can be helpful for users to get started on common business tasks and educational activities instead of going through the hassle of doing everything from scratch.
6. Accessibility and Mobility: Being a cloud-based tool, Miro can be accessed from anywhere and on various devices, enhancing mobility and flexibility.
These are some of the reasons why Miro stands out in the market. There are various tools for UI/UX designing that are similar to Miro and you can use those to get your work done efficiently.
As we proceed to the next phase, make sure you understand the fundamentals of UI/UX, which includes heuristic analysis, journey maps, testing, etc. If you want to explore more about it, join GUVI’s UI/UX Course with Placement Assistance. You’ll also learn about the tools used in UI/UX which are AdobeXD, Illustrator, Photoshop, Figma, and many more. Build some amazing real-time projects to get hands-on experience.
Also, if you want to explore Figma through a Self-paced course, try GUVI’s Figma certification course.
How to Install Miro on Windows?
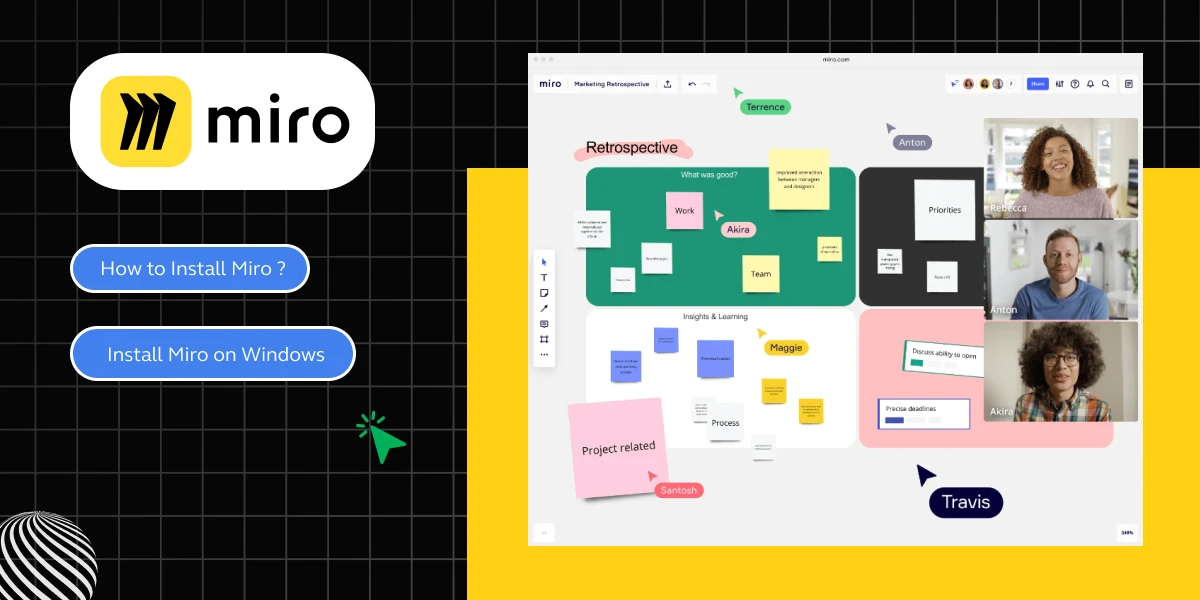
Miro is a universal collaborative tool meaning you can use it on any device be it a smartphone, laptop, or tablet with iOS, Android, and Windows. In this section, you are going to specifically learn how to install Miro on Windows.
Step 1: Download Miro on Windows
Downloading Miro on Windows is a simple process, all you have to do is go to the Official Apps of Miro and then look for the desktop version.
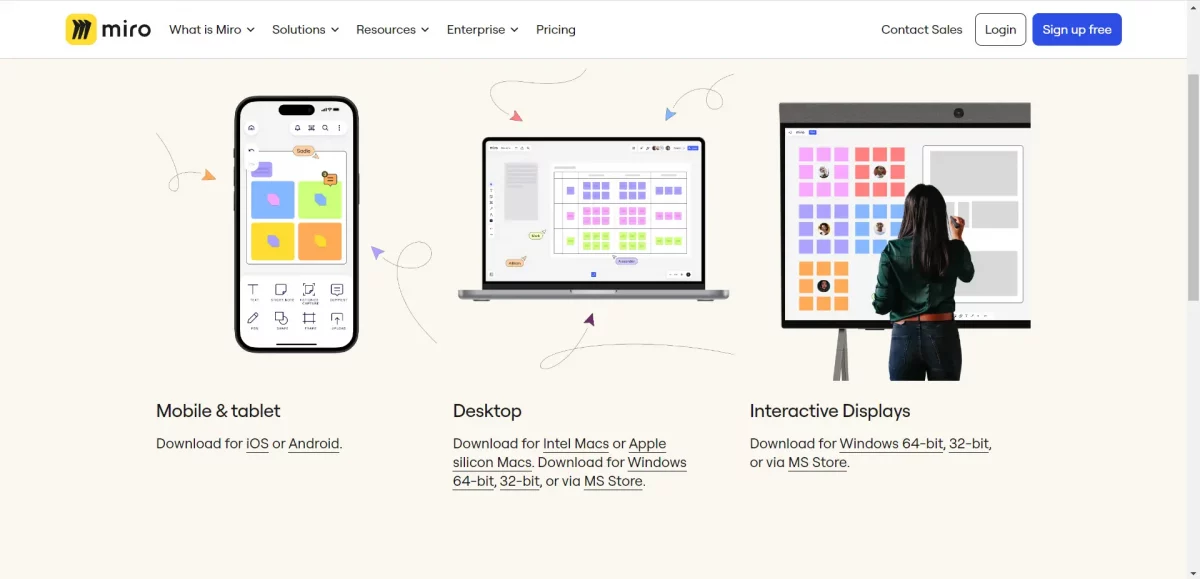
The desktop version includes the Mac version as well as the Windows version. When you are downloading the Windows version, make sure to check the bit version as well.
After clicking the version of Windows that you want to download, your download will start automatically and wait for a few moments until it gets downloaded to your local machine.
Step 2: Installing Miro on Windows
Once you download it, you can find that there is no setup for Miro but rather, you directly get the application, which is one of the pluses of Miro, it saves you the time of installing all the things through setup.
You can click on the application and wait for it to open.
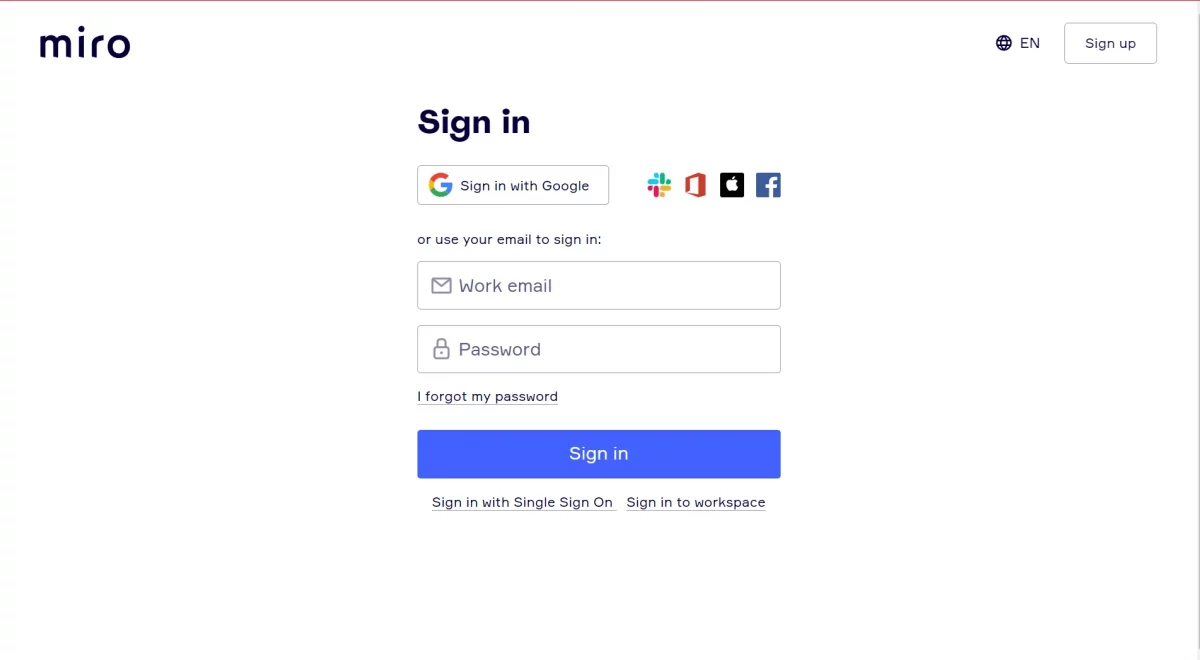
You will find the sign-in page right away when you open it. If you are new to Miro, you can click the “Sign Up” button on the top right corner and sign up to Miro.
Don’t worry since it asks for a work email, the reason for that is, that if your company already has a business account in Miro, then if you use your work email, you can directly get access to your teammates.
If you want to use it for your projects, you can provide your personal email address and can continue doing so as well.
Once you sign in/sign up, a basic guide will appear that teaches you all about Miro. After learning that, you can start creating whiteboards, flowcharts, mindmaps, etc.
This is how you install Miro on Windows.
Things to Keep in Mind Before Using Miro
1. If you want to use a quick whiteboard tool online without wanting to install it or sign up, you can use Miro Lite, which is the online version but with fewer features. It is important to note that, Miro Lite can save your work for 24 hours only, after that your work will automatically get deleted.
2. Miro is a freemium tool, meaning it has both free and paid versions available and the features change accordingly. You can check the Pricing after using it as that can give you an idea about Miro’s prowess and can help you decide whether to buy it or not.
Also Read: How To Switch Career In UI/UX Design? Easy or Hard? [2024]
Kickstart your UI/UX journey by enrolling in GUVI’s UI/UX Course where you will master technologies like AdobeXd, Illustrator, and Figma, and build interesting real-life UI/UX projects.
Alternatively, if you would like to explore Figma through a Self-paced course, try GUVI’s Figma certification course.
Conclusion
In conclusion, Miro is a perfect collaborative tool that satisfies all your needs and makes your work-from-home life much easier. Though it is similar to Google’s Jamboards, Miro is favored because of its enhanced features like versatility, accessibility, and integrity.
With both free and paid versions, Miro helps working professionals in their brainstorming sessions and team meetings. It is important to understand that Miro is crucial for the beginning of any project as you can’t start anything without a plan.
It is up to you to decide how you are going to use Miro for your work but we can guarantee you that it enhances your work-life exponentially and once you get used to it, there’s no going back.
Also Read 8 Best UI/UX Prototyping Tools
FAQs
Miro offers a basic free plan with limited features, as well as paid plans with more advanced options.
Miro primarily works as an online tool, but some features may be available offline with certain plans.
Miro typically updates automatically. You can also check for updates manually within the app or on the Miro website.
Yes, Miro boards are stored in the cloud and can be accessed and synced across multiple devices.
Yes, you can invite others to view or edit your Miro boards even if they don’t have the app installed.


![What Does a UI/UX Designer Do? [Career Guide] 8 What does a UI/UX designer do?](https://www.guvi.in/blog/wp-content/uploads/2023/12/UX-Designer-Do_.webp)




![How To Switch Career In UI/UX Design? Easy or Hard? [2025] 11 how_to_switch_to_a_career_in_ui_ux_design_](https://www.guvi.in/blog/wp-content/uploads/2023/12/how_to_switch_to_a_career_in_ui_ux_design_.webp)


Did you enjoy this article?